
Cover image: Erik Mclean · Pexels License · AI-assisted composition and tonal edits; reference illustration, not a product test.
Plan display cabinet lighting around the collection, the cabinet and the room. Identify which details need to be visible, where reflections appear and how cables and components can be accommodated under the manufacturers' instructions. Choosing a light colour or brightness setting alone does not resolve those questions.
This is a planning guide, not an electrical installation tutorial or a test of a lighting product. It does not prescribe a universal lux level, colour temperature, lamp distance or run time for every collectible.
Look at the cabinet with the lights off
Stand or sit where you normally view the collection. Note the shelves or details that are difficult to see. Look for reflections from windows, ceiling lights and nearby lamps, and repeat the check when the room's lighting changes.
Decide whether the problem is poor visibility, a reflection in the front, an object hidden behind another, or a shelf casting a shadow. These problems may need different changes. Adding more light does not necessarily make a blocked object visible.
If you have not chosen the cabinet, use the model-car cabinet planner to settle shelf space and access first. Lighting should follow a workable arrangement rather than compensate for an unsuitable one.
Choose the details you want to reveal
For each shelf, identify the main viewing direction and the features that matter: the side of a model car, the face of a figure, the interior of a build or a label beside a group.
Draw a simple shelf plan showing the objects, the likely light positions and the direction of view. Keep the locations provisional until they have been checked against the exact lighting and cabinet instructions. A planning sketch does not establish permitted installation clearances.
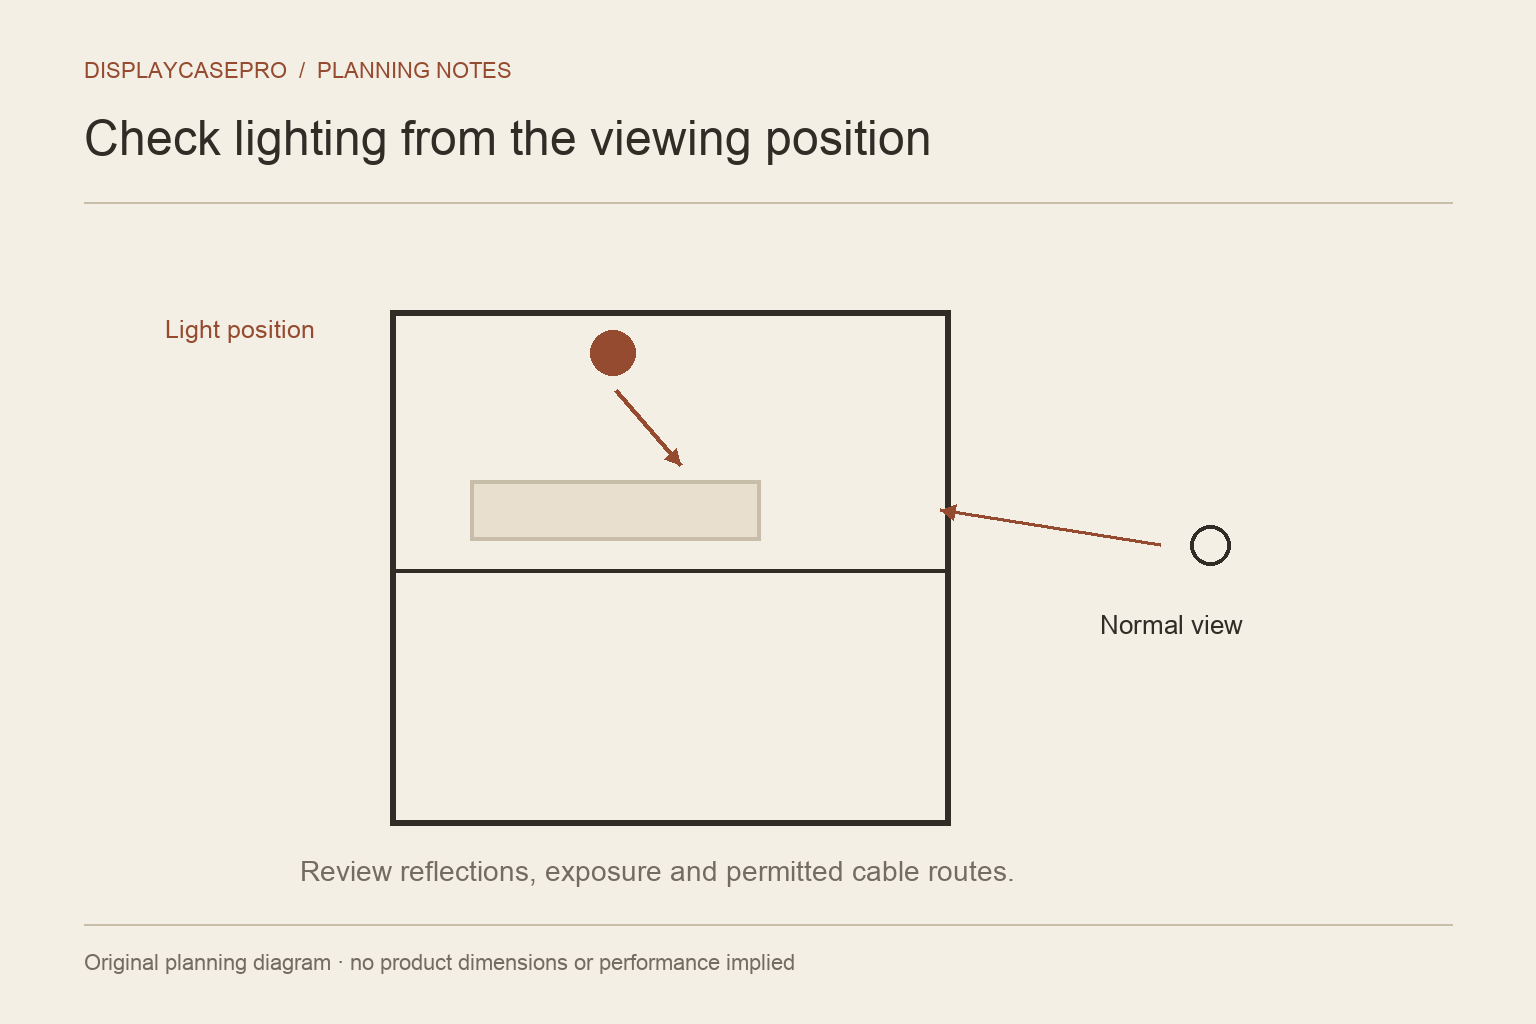
Compare reflections from the normal viewing position
A light source reflected in the front can compete with the collection. Consider the positions of the source, the viewer and the clear panel together. Take a photograph from the normal viewing position to record the problem, but check the scene with your eyes as well; a camera's exposure can make the result look different.
Review room lights and the cabinet position before assuming a different glazing product will solve the issue. Our acrylic and glass checklist separates material names, glazing treatments and product-specific claims.
Keep light exposure in the decision
Some collection materials are sensitive to light. The Canadian Conservation Institute explains that reducing light exposure is central to limiting light-related fading. This includes considering how long an object is illuminated, not only how bright it looks at one moment.
Its LED lighting technical bulletin also discusses lamp selection and heat. The practical lesson is to check the exact system and the objects involved, rather than treating the word LED as a guarantee of no heat or no material damage.
Use collection-specific advice when an object is valuable, fragile or unusually sensitive. A general room-lighting preference is not a preservation specification.
Check the installation route
Read the lighting and cabinet instructions together. Confirm where the maker permits the lights, connectors, cables and power components to be placed. Check the operating environment and whether the proposed system is intended for that use.
Plan a cable route that allows doors and removable parts to work as instructed. Do not assume a cable can be pinched through a closed door or that the cabinet can be drilled to make a route. Obtain the relevant instructions or advice before altering furniture or electrical components.
If the installation goes beyond the product's supplied instructions or your competence, use an appropriately qualified installer. This guide intentionally does not describe wiring modifications.
Keep cleaning and maintenance accessible
Work out how you will reach the lights, shelf surfaces and collection without disturbing fragile parts. Consider what needs to be removed to replace a component, and keep the product model and instructions with the cabinet records.
Do the same for the controls. A convenient switch or timer can make a planned lighting routine easier to follow, but it does not replace checking the system's intended use and the needs of the collection.
Record the result without claiming a test you did not run
Take before-and-after photographs from the same viewing position when possible. Note the room lighting, shelf arrangement, light position and any settings that changed. Label this as your own setup observation unless you have actually measured and documented performance.
Keep a list of remaining issues, such as a reflection at another viewing angle or an obscured lower shelf. If space is also tight, the small-space display topic can help you revisit the layout before adding more equipment.
Record the view and the equipment separately
| Planning record | What belongs in it |
|---|---|
| View | Normal eye positions, objects to emphasize and reflections to inspect |
| Space | Fitting positions, usable shelf areas and the door or cover route |
| Equipment | Exact light, driver, cable and their maker’s installation requirements |
| Collection | Material sensitivities and the source of any exposure advice |
A layout drawing can show where a light might go; it does not establish electrical compatibility or object-safe exposure. Check the selected equipment before treating an attractive position as an installation plan. If a proposed cable route changes a cabinet opening, review the cabinet dust inspection guide and identify any ventilation requirement before considering a seal. Return to the measurement record if the fitting or wiring changes usable space.
Comments
Share a display tip or ask a question.