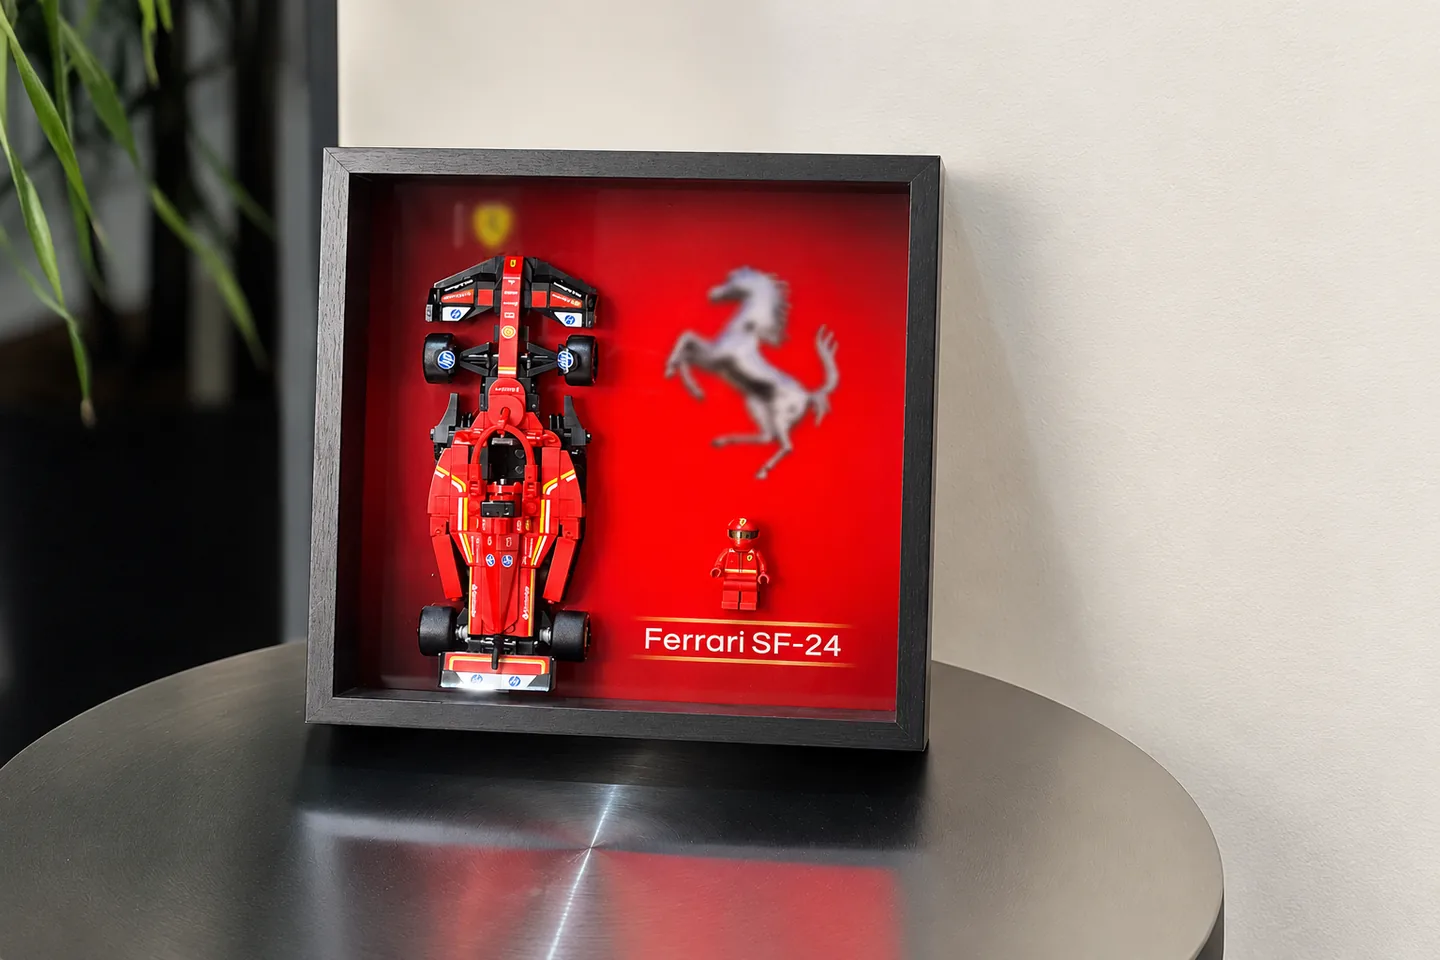
Cover image: CubeBuff · used with permission · AI-assisted composition and tonal edits; reference illustration, not a product test.
A model-car display frame needs to fit the complete car and hold it in the intended orientation. Check the car's actual size, projecting parts, base and support method before comparing the number of advertised slots. A scale label helps identify a model, but it does not establish the dimensions of every car at that scale.
This checklist focuses on the car inside the frame. Use the collection wall planner when the main decision is how several frames will share a wall.
Measure the complete model
Record the manufacturer, model identifier and scale from your collection records. Then measure the actual object in the pose you want to display. Include mirrors, wings, aerials, an attached base and any other projecting parts.
Decide whether opening doors or other moving parts will remain open in the display. If so, measure that arrangement rather than the closed car. Do not infer a model's finished measurements solely by dividing full-size vehicle dimensions by the scale number; model construction and attached bases can change the envelope you need.
Keep measured values separate from supplier figures and estimates. The general measurement guide provides a record you can reuse for each car or group.
Find the usable depth
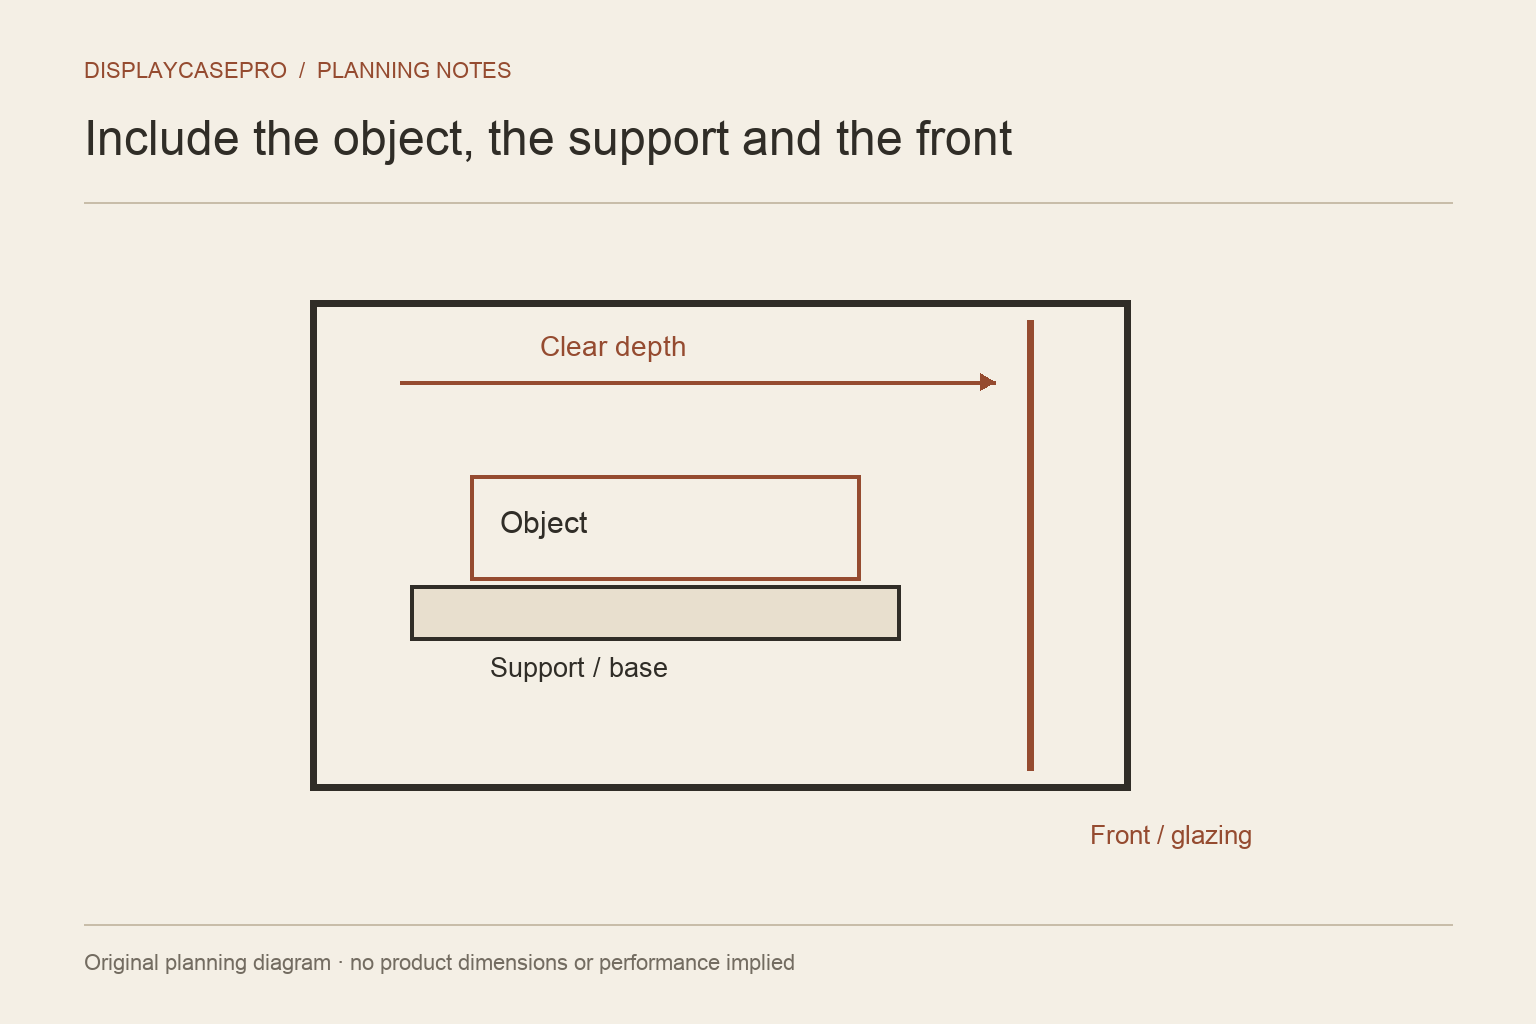
Ask how the frame's quoted depth is measured. The external frame depth may include the backing, glazing, rebates and other parts that do not contribute to clear space around the model.
Include the support in your measurement. A car mounted away from the backing can project farther than the car's own width or height suggests. Check the intended orientation explicitly: a side view, angled view and top view place different demands on the enclosure.
Do not count contact with the front as acceptable clearance. Confirm how the object will remain in its intended position when the frame is handled or opened.
Ask what supports the car
Request a description of the supports and the parts of the model they contact. Do they hold a base, the wheels or another identified area? Are they intended for the exact model or for a stated range? How is movement restrained without relying on a delicate detail?
These are product-specific questions. A photograph of a mounted car cannot establish support capacity, long-term material compatibility or the condition of the hidden contact points. Ask the supplier for the relevant instructions rather than improvising an attachment method from appearance alone.
If preserving an unusual or valuable model is central to the project, obtain advice appropriate to its materials and condition before attaching it. This guide does not prescribe adhesives or claim a particular mounting system is suitable for all models.
Treat each compartment as its own space
For a multi-car frame, obtain usable compartment dimensions and details of any dividers or supports. A total frame width does not tell you whether the widest car fits a single space.
Build a simple inventory with one row per car: identifier, measured envelope, base included, proposed compartment and any unresolved support question. This will reveal the outlier that a capacity claim such as a total car count can hide.
Try the proposed visual order on a table. A series can look coherent without requiring every model to be pressed into an identical pose. If one car needs a different display, record that as a deliberate choice.
Plan loading and opening
Check whether the frame opens at the front, loads from the back or must be removed from the wall. Rehearse the sequence with the supplier's instructions. Consider where the frame, front and other parts will sit while you handle the collection.
A depth measurement does not prove access. The narrowest loading route may be smaller than the final compartment. Do not assume you can tilt or flex the model to get around an obstruction without affecting its parts.
Confirm the complete installation
Add the frame, glazing, supports and collection when checking the complete assembled load against the product's instructions. Confirm the mounting requirements for the actual wall. Avoid substituting a general scale-based assumption for documented product information.
If the frame is difficult to load, the supports remain unclear or the arrangement is likely to change often, compare a shelf-based alternative. The model-car cabinet guide covers usable shelves and access. Choosing a different format can be a practical answer, rather than a reason to force a model into an unsuitable frame.
Keep the compatibility record
Save the supplier's description, the date checked, your measured arrangement and any written answers about supports. If you later add another car, start a new row. Similar scale, appearance or packaging does not automatically transfer the fit decision from one model to another.
Use a separate fit record for each car arrangement
| Arrangement | What can change the fit question |
|---|---|
| Loose car | Mirrors, antennae and the intended viewing angle |
| Car with a display base | The complete base outline and the maker’s support method |
| Car with opened parts | The new projection of each door, bonnet or other moving part |
| Packaged car | The complete card, blister or box rather than the loose model’s dimensions |
These are different arrangements, even when the model name is the same. A scale label alone cannot supply the finished envelope. Use the shadow-box usable-depth guide to verify the frame’s clear depth from the finished backing, then compare it with the complete mounted projection. Keep the support instruction separate from the depth calculation: sufficient space does not prove a suitable mounting method.
Comments
Share a display tip or ask a question.