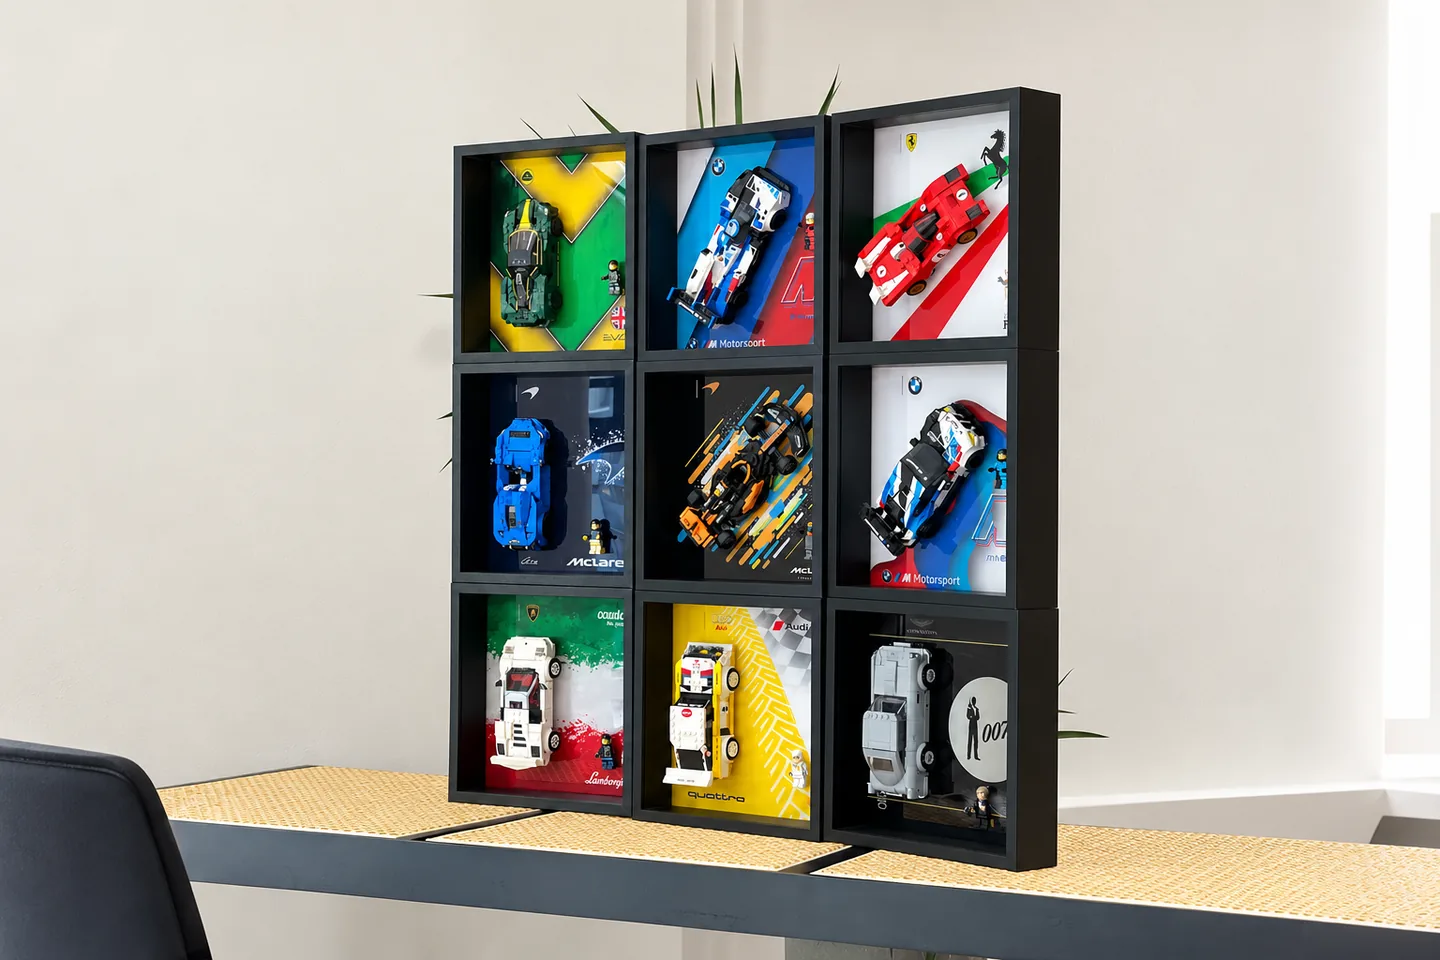
Cover image: CubeBuff · used with permission · AI-assisted composition and tonal edits; reference illustration, not a product test.
Plan a collection wall at full size before ordering frames or choosing mounting positions. Start with the objects and the wall space they can use, then check frame depth, access and the exact mounting requirements. A balanced arrangement on paper is useful, but it is not evidence that the objects or fixings are supported correctly.
This guide deals with the layout of a group of frames. For the depth and supports inside a frame containing model cars, use the model-car frame checklist.
Choose a clear reason for grouping the objects
A wall can follow a series, subject, colour relationship or personal story. Lay the objects out away from the wall first. Look for a grouping that makes sense without labels, then decide which items need explanation.
Do not make every frame identical simply to fill a grid. Different objects may need different depths or support arrangements. A repeated outside frame size can still contain different usable openings and internal layouts.
Choose one main group to establish the arrangement. If the collection is growing, decide whether new pieces will join that group or form a second one. This is easier to plan before the wall is full.
Map the usable wall area
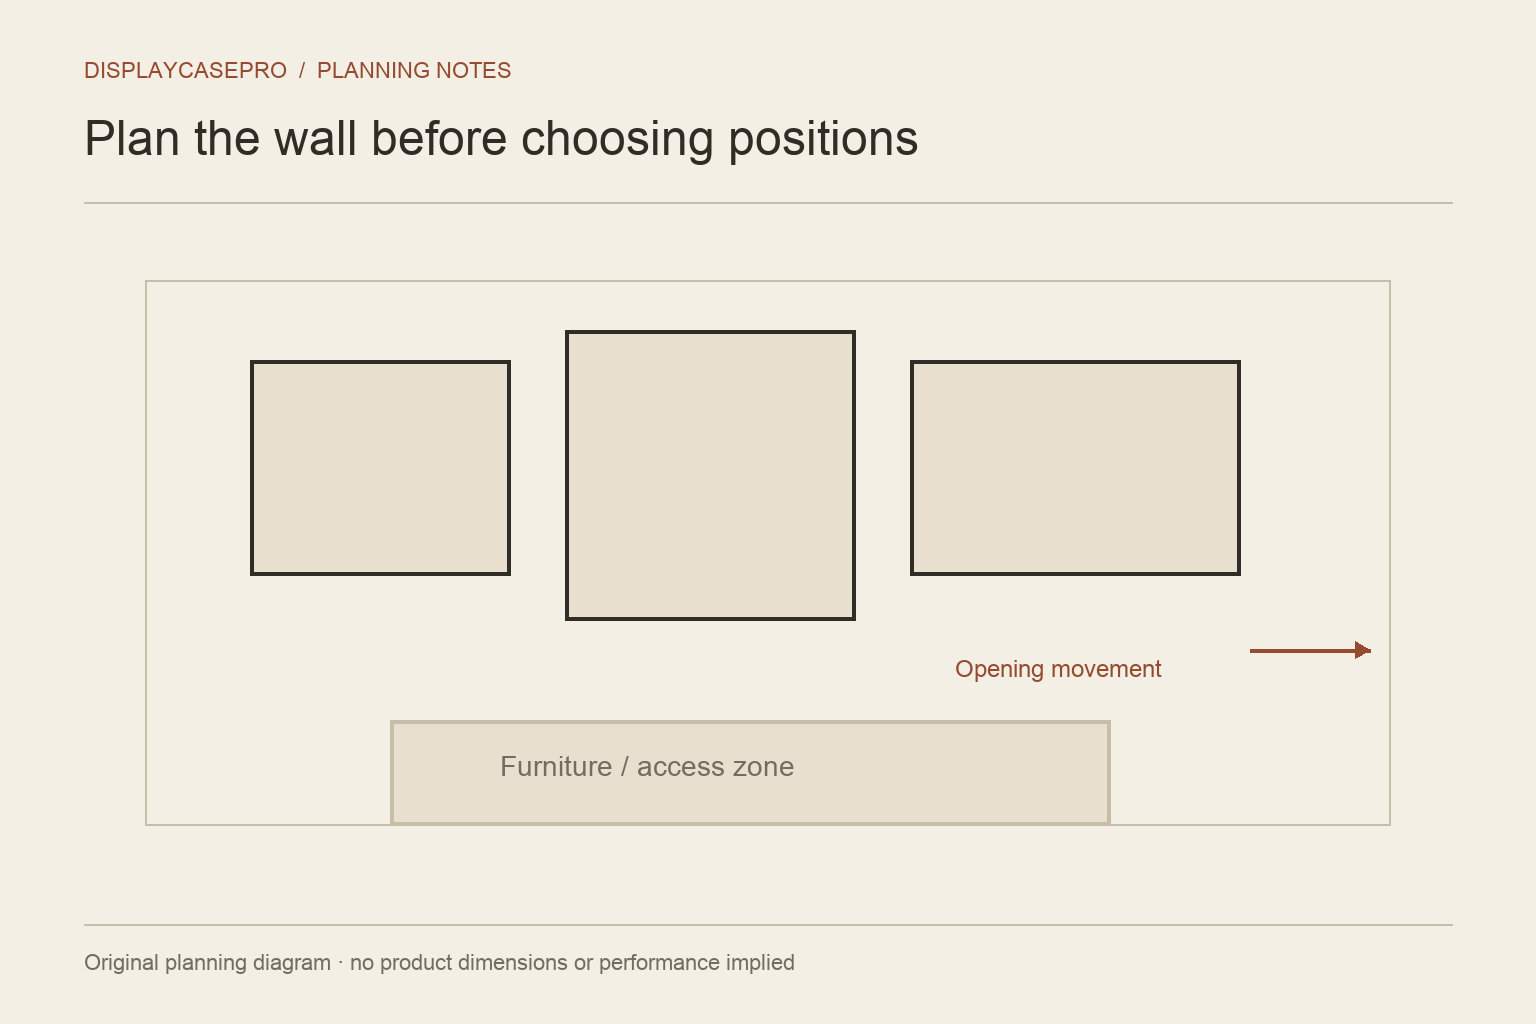
Measure the wall area in relation to the furniture, doors and other features that affect access. Note where a frame would compete with a moving door, a lamp or a shelf. Consider the positions from which people will actually view the collection.
Draw the outside outline of each shortlisted frame on paper. Arrange the outlines at full size or make a scaled plan with the scale written clearly on it. A frame's advertised picture opening is not the same measurement as its external footprint.
Leave the plan easy to change. Use a separate note to record proposed positions instead of treating a sketch as an approved drilling or installation drawing.
Check depth before committing to the pattern
For each frame, record the depth occupied by the object and its support. Also check any space needed between the object and the front. The same spacing between frames does not mean the objects inside them have the same requirements.
If the display includes paper keepsakes, photographs or similar sensitive originals, use advice appropriate to those materials. The Library of Congress's preservation framing guidance discusses the frame package and keeping the object away from the glazing. It is guidance for that material context, not permission to attach every collectible with the same mounting method.
Rehearse access and changes
Find out how each frame opens and whether it must be taken down to change its contents. Show that movement on your layout. A neat row is less useful if one frame prevents its neighbour from opening.
Think about where you will put a removed front or frame while working. For frequently changed collections, convenient access may matter more than a perfectly symmetrical arrangement. Make that choice deliberately rather than discovering it after installation.
If objects have projecting or delicate parts, consider the handling sequence. Which part will you hold, and what needs to be removed first? Keep unresolved handling questions with the product shortlist.
Keep installation decisions separate from styling
Record the complete assembled weight and the mounting system specified for each frame. Follow the product maker's instructions and fixing guidance suitable for the actual wall. Do not use a decorative paper layout to infer wall capacity, fastener type or safe spacing between fixings.
If you cannot establish the wall construction or the required installation method, get the relevant advice before mounting the display. The layout can be revised; an unsupported assumption should not become an installation decision.
Make room for the next addition
You can reserve an area, plan a second group or rotate a selection of objects. None of these needs an empty frame to be presented as part of a finished collection. Choose the approach that suits how the collection changes.
Keep a photograph or drawing of the first layout and a list of what each frame holds. When a new object arrives, compare its needs with the existing frame's usable space instead of assuming a visually similar item will fit.
Review the plan from the room
Before buying, ask whether the objects remain recognizable from normal viewing positions, whether the grouping still works with the furniture, and whether access is practical. There is no single spacing or mounting height that works for every room and collection.
Use the measurement guide to check the physical details behind the layout. If the wall is part of a wider space problem, the small-space display topic connects wall, shelf and cabinet planning without treating a smaller room as a reason to skip fit or installation checks.
Check the wall arrangement from three positions
| Position | Check on the full-size plan |
|---|---|
| Normal viewing point | Whether important objects remain visible around furniture and neighbouring frames |
| Open or loading position | Where the front, back or removable component moves during access |
| Future expanded arrangement | Which reserved spaces remain usable without blocking an existing frame |
Keep each frame’s outside outline separate from its useful object area. An attractive wall composition can still fail if the objects project too far forward; the shadow-box usable-depth guide explains how to check that dimension. Record the exact support and wall-fixing instructions for the chosen product. A room sketch is a layout aid, not evidence of a wall’s capacity or a suitable fixing.
For a restricted room, use small-space display planning to compare wall space with a shelf or cabinet footprint before committing to the arrangement.
Comments
Share a display tip or ask a question.