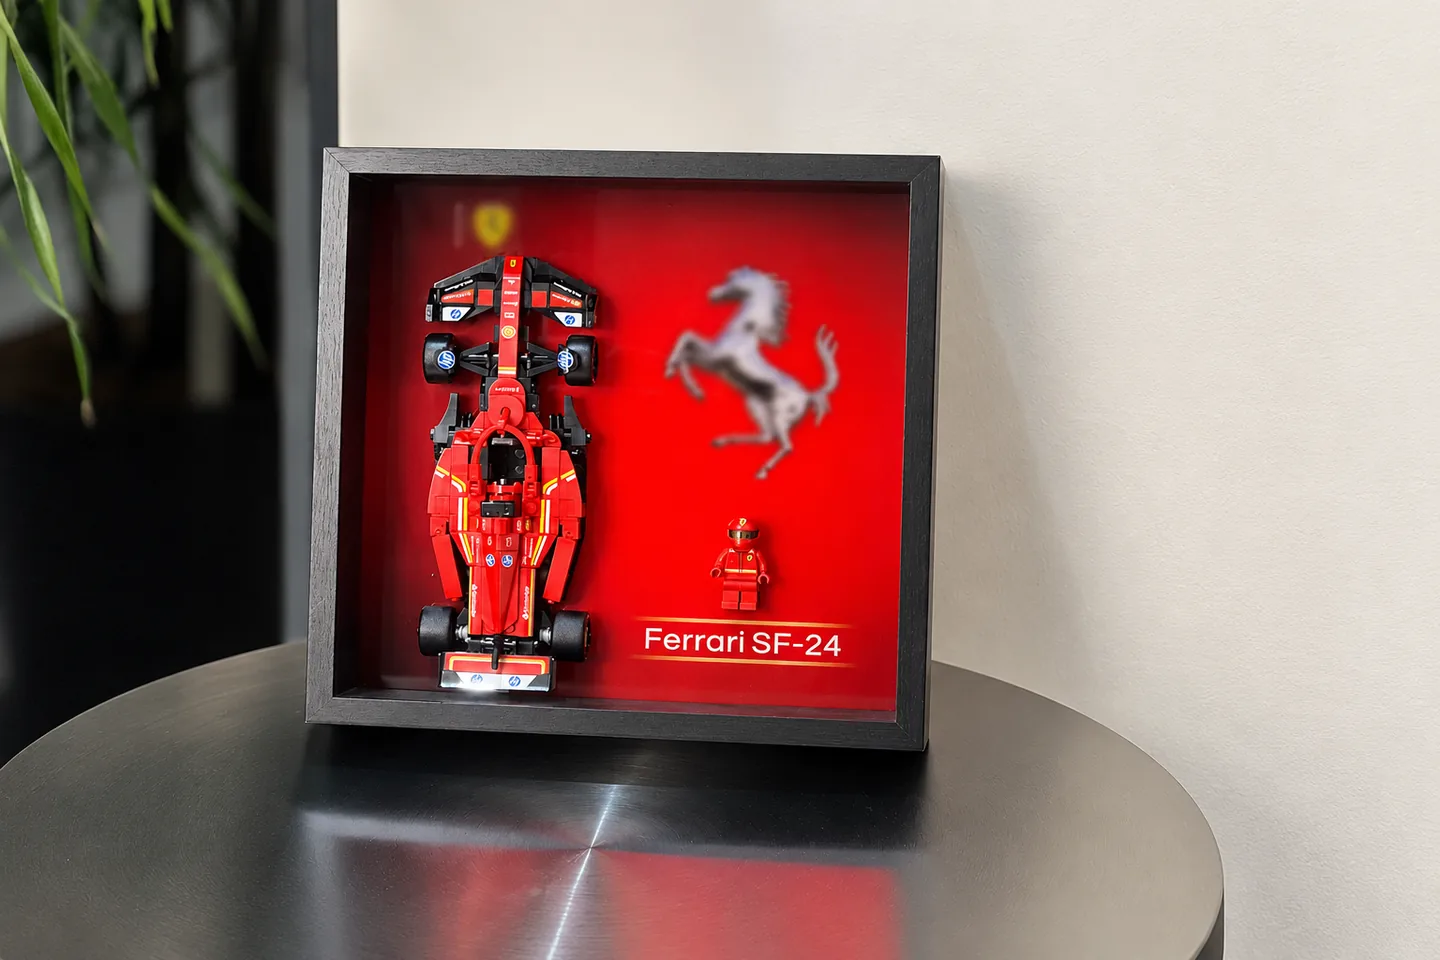
Cover reference: CubeBuff · used with permission · AI-assisted composition and tonal edits; reference illustration, not a product test.
A shadow box needs enough usable depth for the complete mounted object, its support and the front clearance you have chosen. There is no single depth that suits every collectible. Check where the maker’s measurement starts and ends: the outside profile, rabbet or channel depth, and the clear space in front of the finished backing are different quantities.
This guide focuses on that depth decision. For the full width, height, opening and room-space record, use our collection measurement guide. For several frames on a wall, use the wall-layout planner.
Separate three meanings of depth
| Measurement | What it describes | What it does not establish by itself |
|---|---|---|
| Outside or profile depth | The frame’s external section, as defined by its maker | How much of the section is available for an object |
| Rabbet or channel depth | The channel that accommodates the frame contents, according to the profile definition | The clear depth remaining after the actual backing, glazing and other components are installed |
| Usable object depth | The specified clear distance from the finished mounting face to the inner front surface | Whether the opening, supports or complete object fit in the other directions |
Ask the seller to mark the endpoints on a section drawing. If a listing simply says “depth,” record that wording as unconfirmed rather than silently treating it as the clear interior.
A published profile example shows why the labels matter
Frame It Easy’s manufacturer help table lists a profile dimension and a separate channel-depth column. The examples below reproduce those specific published depth fields, checked 16 October 2026.
| Named profile | Depth stated in its Dimensions field | Channel Depth (Rabbet) |
|---|---|---|
| Dayton, natural wood | 3/4 inch | 1/2 inch |
| Danbury, natural wood | 1 inch | 13/16 inch |
| Durham, natural wood | 1 1/4 inches | 7/8 inch |
These are picture-frame profile examples, not recommendations for enclosing three-dimensional collectibles. The same help page specifies separate artwork-thickness limits for its assembled frames. Neither column above should therefore be relabelled as that product’s available object depth.
Measure from the intended mounting face
Place the object in the orientation you want to display. Include everything that projects towards the front: a model’s mirror, a figure’s raised hand, a medal ribbon, a label or another accessory. Do not measure a loose object and assume that its final support adds no depth.
Use the backing’s finished front face as a clearly recorded reference plane. If the support holds the object away from that plane, include the offset once. If you have already measured the complete mounted assembly from that plane, do not add the same support again.
Planning relationship: required clear depth = complete mounted projection + the front clearance you choose. The chosen clearance must reflect the actual object and opening method; this guide does not prescribe a universal allowance.
Identify which components consume the quoted space
The following is a section checklist, not an instruction to subtract every layer from every advertised dimension. Only subtract a component when the supplier confirms that it occupies the quoted channel or space.
| Layer or feature | Question to resolve |
|---|---|
| Glazing and its retaining detail | Does the quoted depth already begin at the inside glazing surface? |
| Backing and decorative lining | Is the finished mounting face included in the usable-depth measurement? |
| Object support | How far does it move the object forward, and was that offset already measured? |
| Raised borders, spacers and hardware | Do they reduce usable space locally or change how the object is loaded? |
| Front clearance | What visible and practical separation is needed for this arrangement? |
A frame can have sufficient depth at its centre but an obstruction near the edge. Check the complete usable area, not one clear point. A raised accessory also needs to remain within that area when the frame is closed.
Check loading and reopening before ordering
A rear-loading frame, front-opening frame and removable-cover design can have different loading routes. Ask how the proposed arrangement enters and how it can be removed again. The ability to fit once during assembly does not settle the routine-access question.
Use a full-size outline to record the opening and the positions of the supports. For a model-car frame, keep the pose, base and support method together in the record; our model-car frame guide explains that object-specific decision.
Send a precise fit question to the maker
Download the shadow-box depth record. Attach your own sketch or photograph and complete these fields:
- The exact frame model and selected options.
- The object, pose and complete support arrangement.
- The reference plane and measured forward projection.
- The maker’s quoted depth, with its original units and definition.
- The opening, internal obstructions and planned front clearance.
- The source, date and any remaining unanswered question.
A useful question is: “What is the clear distance from the finished backing face to the inside front surface with these options installed?” Follow it with the measured mounted projection and the access you need. This gives both sides a shared definition instead of relying on the word “deep.”
Research note: Prepared by DisplayCasePro using the manufacturer reference linked above, checked 16 October 2026. The measurement tables are planning aids. No frame, support or collectible fit was physically tested for this guide.
Comments
Share a display tip or ask a question.