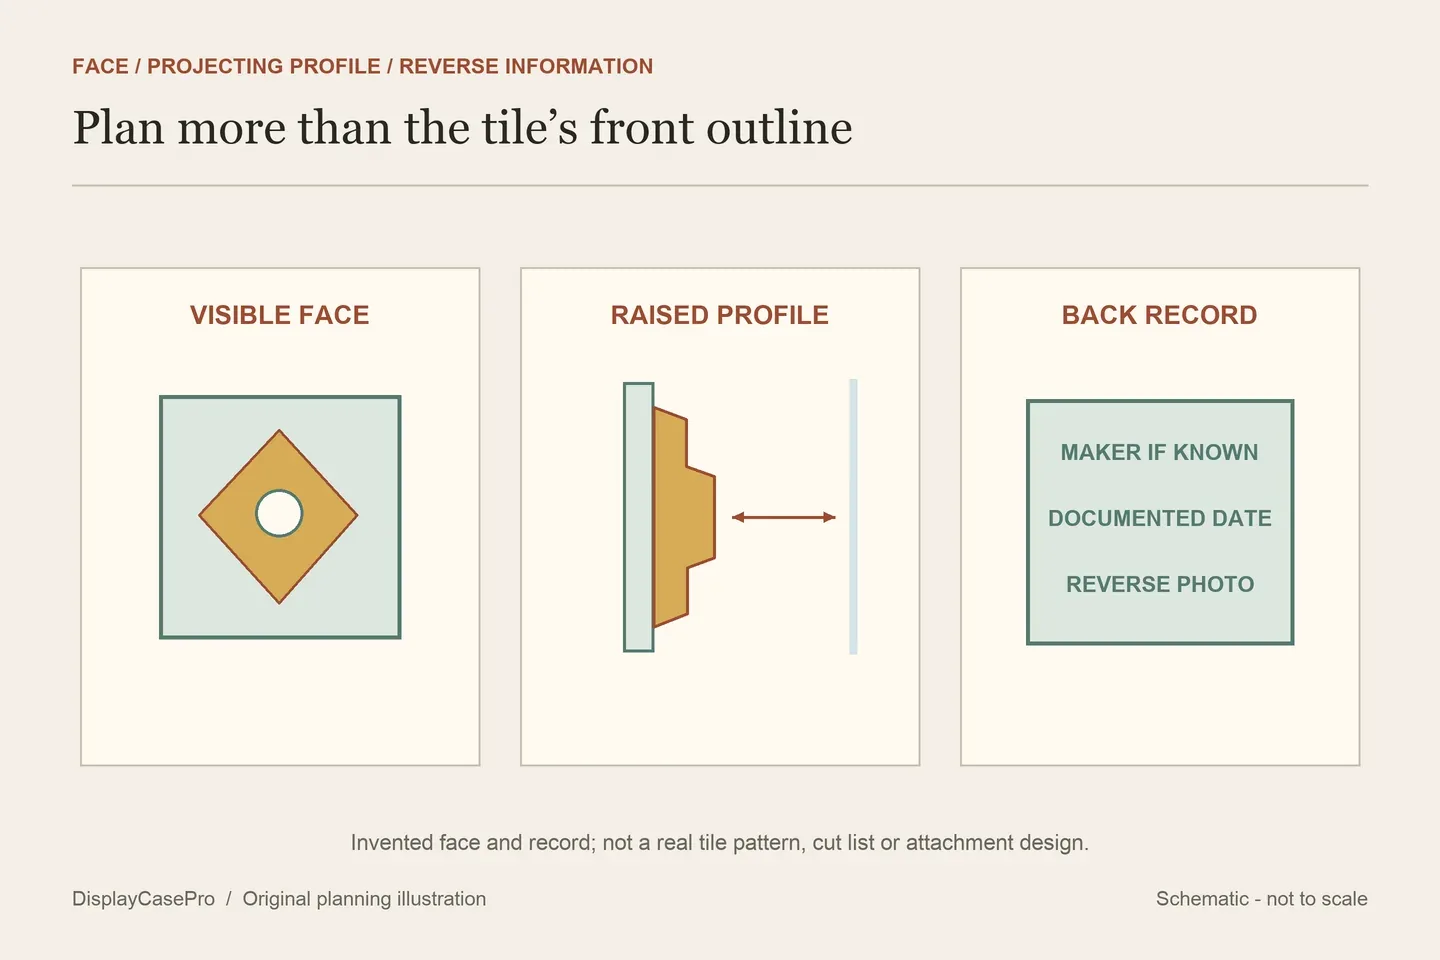
Display a ceramic tile by choosing the face and edges you want visible, then matching the support to its thickness, relief and complete profile. A tile stand, wall mount and perimeter frame can suit different views, but a nominal tile size does not establish fit.
This guide concerns an existing decorative tile or a small collected group. Installing a tiled wall and organizing a showroom’s sample range are different projects. Begin with the object you want to retain, including the information on its back.
Record the face, back and condition before mounting
Identify the tile’s maker, date and origin only where documented. Photograph the back as well as the intended display face. A maker’s mark, inscription or old label can be useful even when it will face the backing of a frame.
Note damaged corners, glaze loss, raised decoration, old repairs and any material already attached to the back. Do not peel away a label or remove an old mounting residue simply to make the tile sit flatter. Ask a conservator about uncertain condition before preparation or attachment.
The Canadian Conservation Institute’s ceramic care guidance describes impact damage, vulnerable glazes and the need for careful handling. It cautions against spring-type metal plate hangers. A tile’s square shape does not remove those material concerns or establish that a bent plate hanger will make suitable contact.
Include corners, relief and curvature in the receiving shape
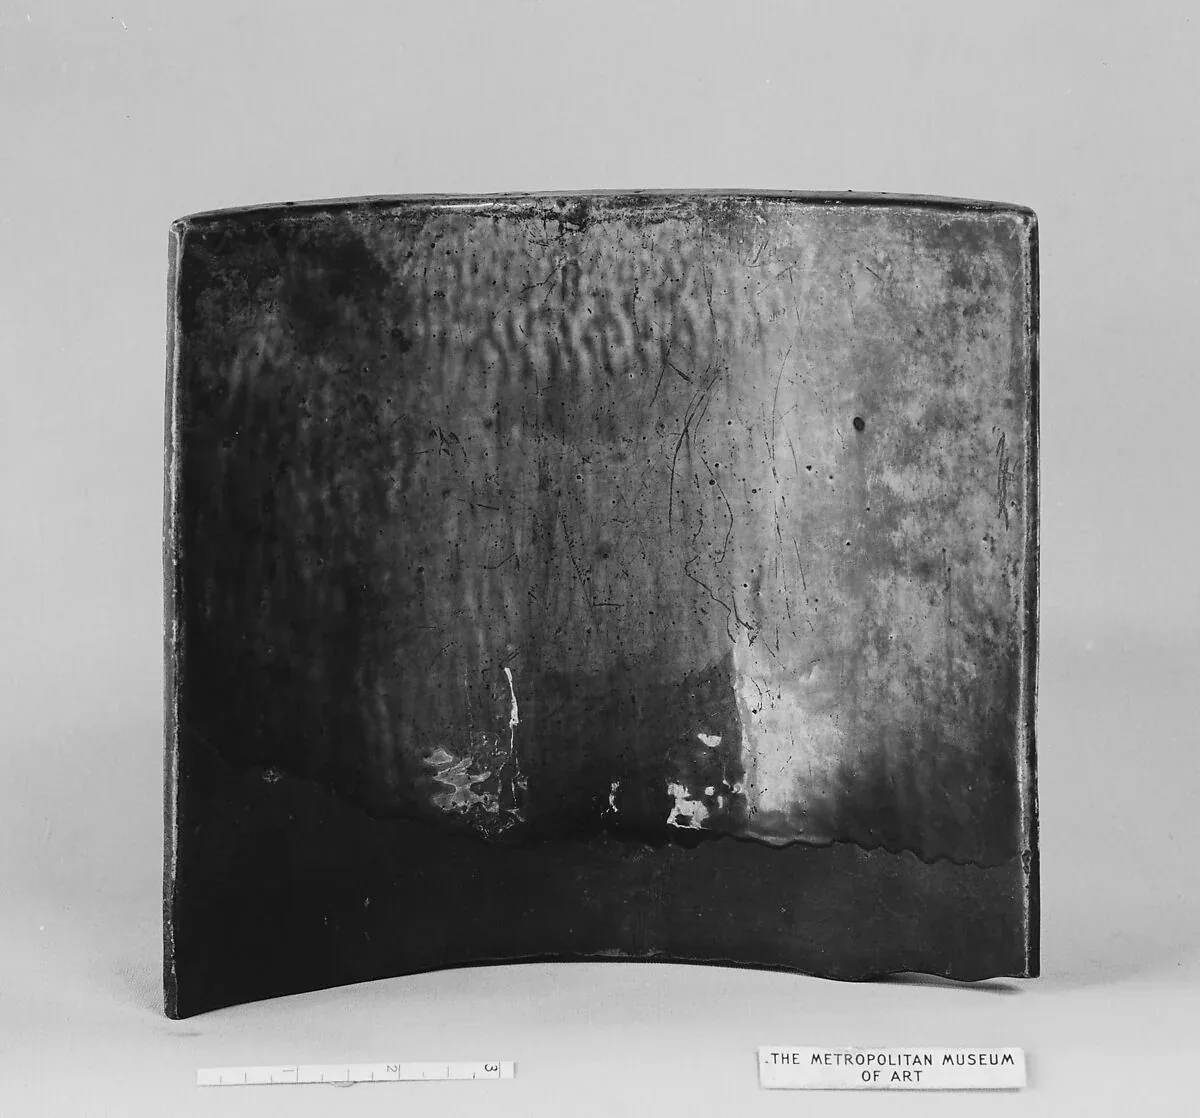
Record the complete width, height and thickness in the intended orientation. Include raised glaze, relief and any projecting back features. Some tiles are curved or irregular rather than flat. Their full supported profile can differ substantially from the rectangular outline in a front photograph.
A visible edge can be part of the appeal. Decide whether a frame should reveal it or cover a defined perimeter, and check which details would disappear beneath the opening. Do not cut an important tile to match a ready frame or flatten it into a backing arrangement.
| Detail | Record | Why it matters |
|---|---|---|
| Edges | Thickness, corners and fragile surfaces. | The support’s contact and receiving opening. |
| Relief | Highest projecting decoration. | Separation from glazing and neighboring pieces. |
| Back | Marks, existing fittings and projections. | Support shape, information and removal. |
Choose a format around the tile you own
A stand can leave the upper edge and much of the face visible, while occupying a supported footprint on a shelf. A wall support frees that surface but needs its own restraint and removal plan. A frame can organize a tile and label within one border, while introducing an opening that may cover part of the edge.
Whistling Frog’s accessory collection shows that tile makers offer stands, single frames and grouped formats. Its named tile sizes describe that catalog, rather than the receiving opening, lip or depth for another maker’s tile. Ask for the exact dimensions and intended contact arrangement.
For a stand, establish whether it receives the complete edge thickness, how the back is supported and whether any front contact obscures decoration. Include the base and the tile’s intended angle in the footprint. For a wall mount or frame, establish restraint and access without using a corner or brittle decoration as an improvised hanging point.
Discuss what touches the back and corners
Online tile projects propose very different attachments. Upcycle My Stuff’s sentimental tile gallery uses adhesive disc hangers and compares another adhesive fitting. That is a particular personal project. Its preparation, timing and removal expectations do not establish suitability for a porous back, old label or repaired tile.
A Designer at Home considers several options and uses jute to hold a decorative tile. Avoid choosing a mount solely because it has no glue. Where the cord bears on the edge, whether it can shift and how it is released still require an answer for the actual object.
Ask the framer or support maker to describe the contacts and the way the tile is restrained. Keep any permission for cleaning, repair or alteration separate from approval of the appearance. Do not assume a back that looks plain is an expendable mounting surface.
| Choice | Include in the plan | Check before approval |
|---|---|---|
| Stand | Tile profile and entire supported footprint. | Edge contacts, back support and removal. |
| Wall | Object restraint and installation instructions. | Back information and appropriate structure. |
| Frame | Visible opening and completed mount. | Covered details and closed receiving depth. |
| Group | Each tile’s outline, support and label. | Independent access without touching neighbors. |
Arrange a small group without turning it into a sample rack
Try paper outlines to compare a row, a compact grid or one larger tile beside a smaller companion. Mark each intended orientation on the plan. Leave the separation needed for supports, visibility and independent removal; there is no fixed gap that suits every tile.
A shared color, subject or documented source can connect a group. Label an association accurately: tiles bought on one trip are not necessarily one original set. Keep the individual identifier and reverse photograph for each piece.
Some search results answer a different question. KYdisplay compares retail racks, drawers, sample boards and slab equipment, while Yeks discusses showroom stands. Those systems organize a sales range. Their sample counts, dimensions and supplier claims do not specify an individual collectible’s support.
Measure the finished mounted tile before ordering an enclosed frame. Our usable shadow-box depth guide separates outside depth from the closed receiving space. Retain the decisions and reverse-image reference in the ceramic tile display worksheet.
Common questions
Will a frame labeled for the same tile size fit?
Confirm the actual receiving opening, thickness allowance and intended mount. A matching nominal width does not account for corners, relief or an uneven back.
Does displaying a tile mean permanently installing it?
No. A suitable stand or independently removable mount can present a retained tile. Decide whether later access to the back matters before agreeing an attachment.
Comments
Share a display tip or ask a question.