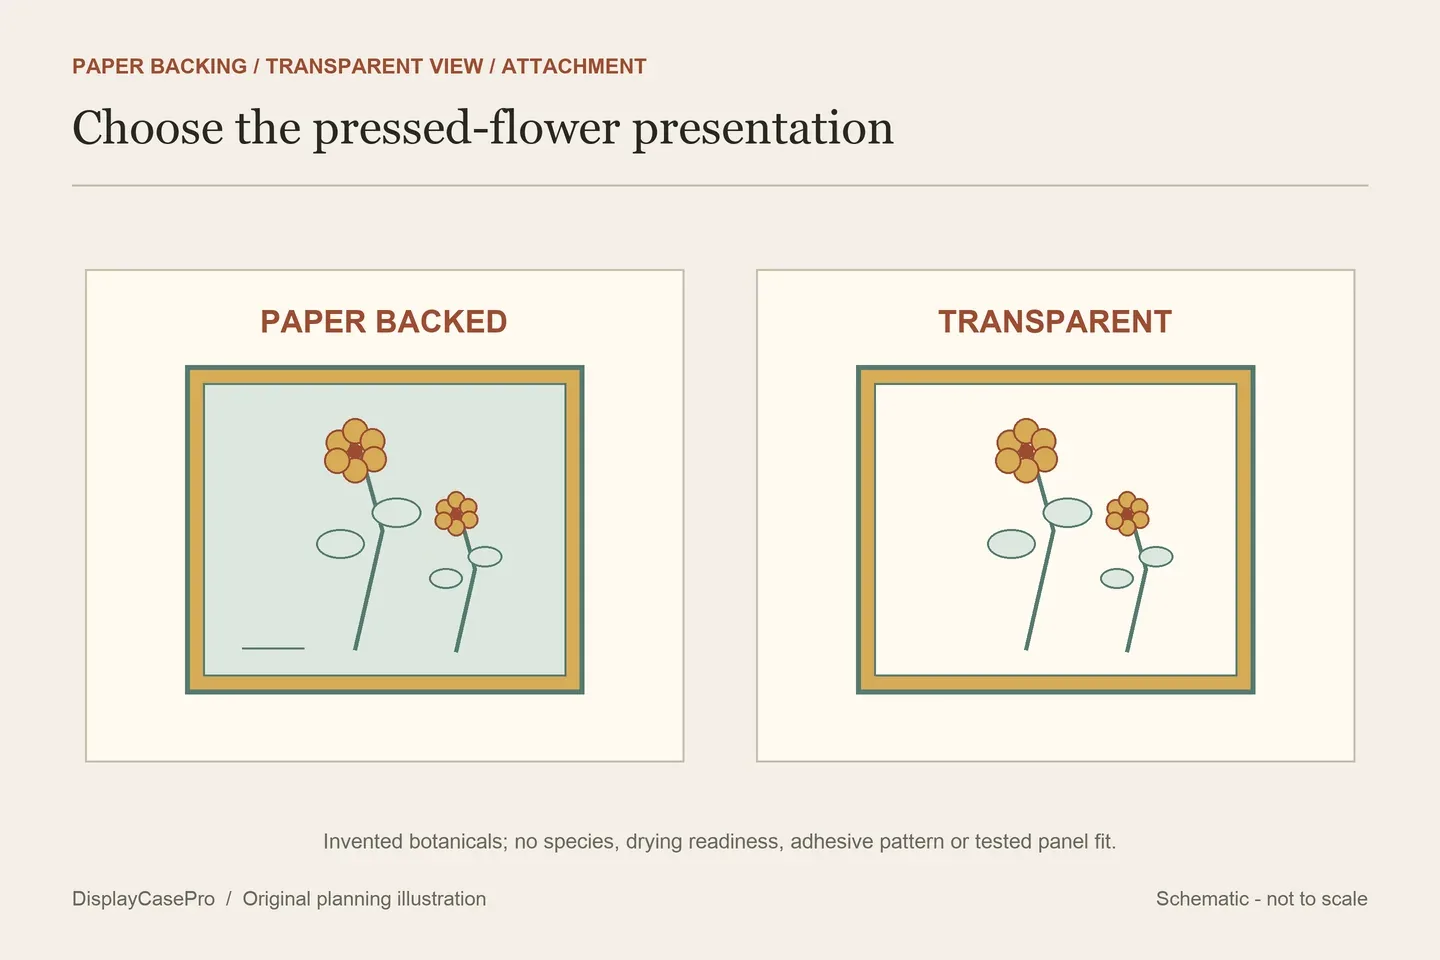
Frame pressed flowers by choosing the finished layout and support before closing the frame. Compare a paper-backed composition with a transparent view, check the highest stems and overlapping petals, and settle how the pieces will stay in place. Pressed flowers are not automatically flat enough for every picture frame.
Start with the flowers’ present condition
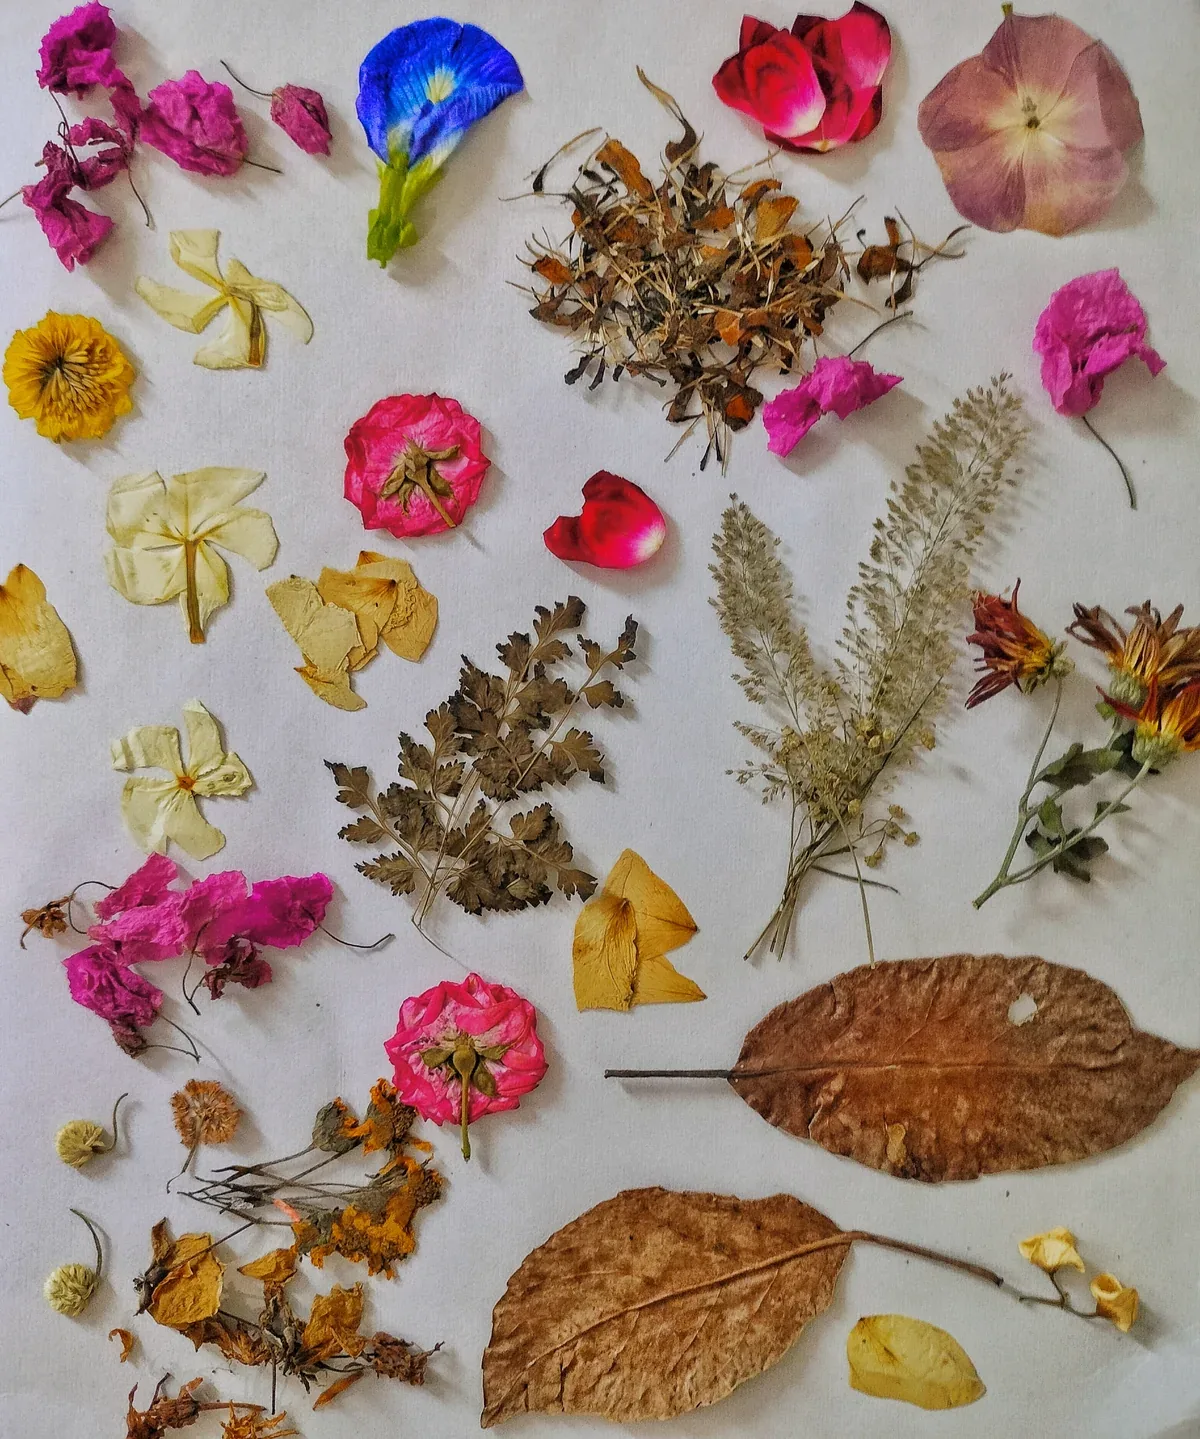
Identify whether the material is already pressed, still being prepared or attached to an existing artwork. Keep the preparation record and any instructions from its maker. Note brittle petals, loose parts and projecting stems without rearranging an irreplaceable piece simply to see whether it fits.
A pressed composition is a different object from a whole bouquet. It may retain selected petals and leaves while deliberately changing the original shape. Before working with wedding or memorial flowers, agree which parts must stay intact and who will prepare them. A choice of frame should not silently decide which stems get cut.
Mississippi State University Extension’s pressed-floral design publication distinguishes thin plant parts from intact thick flowers and explains why moisture loss matters. Its project instructions are a preparation reference, not proof that a saved flower is ready to enclose after a fixed number of days.

Choose what will sit behind the flowers
A paper-backed view provides a background for stems, gaps and small pieces. A mat can define the visible area or surround a smaller composition. In a transparent two-panel frame, the wall or room becomes part of the background, and the attachment may be visible from either side.
| View | What you see | Resolve first |
|---|---|---|
| Paper-backed | Flowers, stems and optional notes against a chosen paper. | The full support size, visible opening and suitable attachment. |
| Clear two-pane | The botanical outline against the background behind the frame. | How the pieces are retained and how much space the actual panels provide. |
| Existing prepared floral artwork | A composition already fixed to its own support. | The maker’s handling instructions and frame fit for the complete object. |
Room for Tuesday’s project uses paper, notes and a double mat to create a specimen-like presentation. Cool Mom and Collected’s project uses a transparent glass-frame format with a coating to retain the pieces. Those examples illustrate different constructions; their glue and drying routines are not interchangeable instructions for every keepsake.
Arrange within the opening you will actually see
Establish the frame’s usable viewing area before placing valuable material. A sheet that fits inside the surround can still lose its outer stems or a handwritten label beneath the frame lip. Include a mat’s actual opening in the plan when one is used.
Make a preliminary arrangement without permanent attachment. Paper shapes can stand in for fragile flowers while you decide the balance, margins and orientation. Leave room for stems and identifying notes as intentional parts of the composition. The MSU publication suggests working out a design before gluing and keeping a photograph as a placement reference.
Check the entire outline from the viewing position. A transparent background may make fine stems difficult to see against patterned wallpaper; a paper background can make the same outline clearer. Compare a sample background behind the open layout rather than discovering the problem after closure.
The paper-backed approach in This Enchanted Pixie’s overview starts with arranging the pieces before fixing them. Keep that planning step separate from deciding whether a particular tape or adhesive suits the actual botanical material.
Decide how the pieces stay in place
A transparent frame does not make loose flowers self-supporting. Identify how each part will be retained, what the attachment touches and whether later removal matters. For an irreplaceable composition, have an appropriate preparer assess the method before experimenting on it.
If making a replaceable craft piece, trial the chosen material and method on spare comparable flowers first. Follow the product’s instructions and evaluate the result before using the saved pieces. A clear-drying description does not by itself answer questions about staining, stiffness or reversibility.
Check the complete mounted depth, including the thickest flower base, a curved stem and any overlapped pieces. New England Parisienne’s bouquet project notes that extra layering can make its frame harder to close. An attractive flat-looking arrangement still needs a real fit check.
| Question | Record | Decision |
|---|---|---|
| What is the visible area? | Actual window, frame lip and intended labels. | Adjust the layout or select a different opening. |
| Where is the highest point? | Flower bases, stems, overlaps and mounting layers. | Choose a package with suitable room for that completed composition. |
| What holds each piece? | Attachment, supporting surface and preparer’s instructions. | Approve the method before using important material. |
| How does it close? | Panel path, hinges or clips and exact frame instructions. | Resolve interference without relying on pressure to flatten the flowers. |
Leeks and High Heels shows a simple opening glass-frame presentation. Its apparent simplicity is a reason to inspect the actual frame, not evidence that every double-panel product supplies the same space or retaining method.
Close the frame only after the assembly is ready
Clean the frame panels separately using the maker’s instructions before introducing the flowers. For an adhered composition, follow the selected preparation and drying instructions before enclosure. Keep loose pieces supported during assembly and follow the specified panel order and closing action.
Check the view and clearance while the package remains accessible. If a stem obstructs closure, reconsider the arrangement or frame rather than use the latch to crush it. The usable frame-depth guide explains how to distinguish a frame’s outside profile from room over a finished mount.
Choose the display position with light and access in mind. MSU recommends keeping its pressed-floral pictures out of direct sun and other strong light. Natural color variation is part of the preparation discussion; glazing, a sealer or an “archival” label does not establish permanent color.
Save a reference for future care
Use the pressed-flower framing record for the approved layout, retained stems, background, attachment and actual depth. Save a photograph before closure and keep the preparer’s instructions with the finished piece.
This guide starts with prepared pressed material. No drying method, adhesive, plant specimen or frame was physically tested for this article.
Comments
Share a display tip or ask a question.