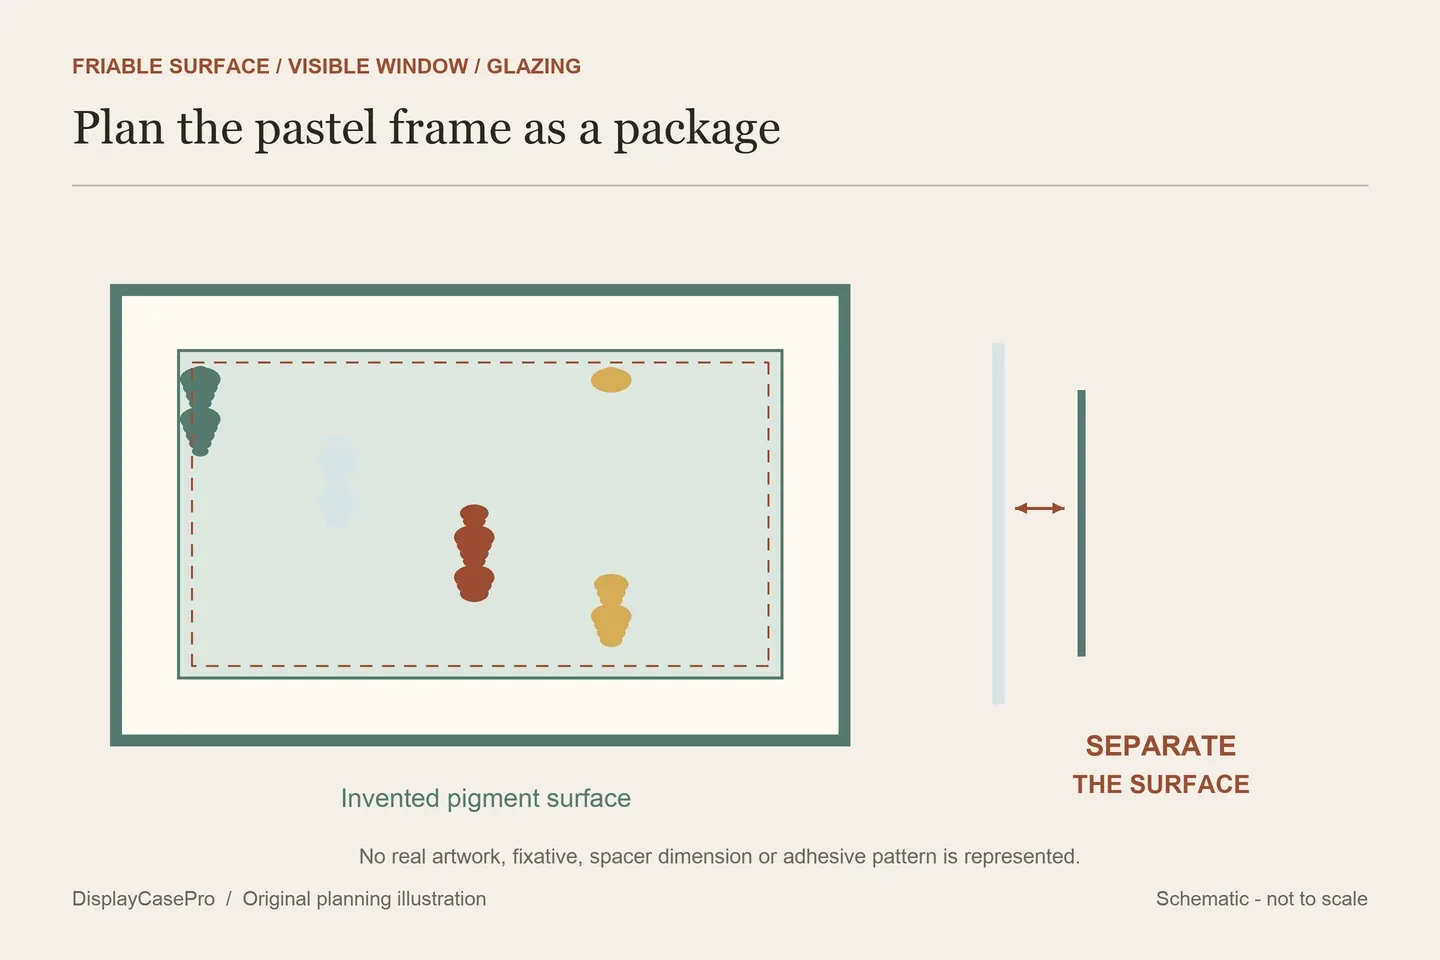
Frame a pastel painting by identifying its surface and support, choosing a mat or spacer arrangement, and fitting the complete package behind suitable glazing. Loose pigment changes the handling and contact decisions. Resolve those decisions before using a ready-made frame or applying anything to the artwork.
Identify the medium before preparing the frame
Start with the artist’s description: soft pastel, another pastel medium, or a mixed-media drawing. Record whether the work is on loose paper, a prepared board or an existing mount. A familiar-looking colored surface does not establish its binder, support or previous treatment.
Keep any artist instructions and existing framing information. Note loose particles, tears, a bowed support, old attachments or a damaged mat without rubbing the surface to investigate. If an old frame needs opening, arrange support and handling first; a painting that looks secure on the wall can be vulnerable during disassembly.
The Canadian Conservation Institute’s paper-care guidance treats pastel, chalk and charcoal as media that can be disturbed by contact and static. It also places cleaning and repairs with a paper conservator. Reframing is therefore a different task from cleaning a mark or restoring a damaged drawing.
Keep the glazing choice separate from a fixative decision
Describe the actual glazing product and how it will sit relative to the finished surface. The National Archives’ framing guidance calls for separation using a mat or spacers and warns about acrylic static around powdery media. A generic “clear acrylic” option needs more information before it belongs in a pastel order.
References do disagree. Charlotte Herczfeld describes framing her own pastels against glass, including a sketch that left some pigment on the panel. Her experience and climate observations do not establish the outcome for a different collector’s work. Use an appropriately assessed separation plan rather than adopting direct contact from that example.
Fixative is another decision again. In Sue Kerrigan-Harris’s framing account, her choice changes with the drawing surface she uses. That is information about her own tested working process. A purchased original does not acquire permission for a spray treatment merely because a framing tutorial lists one.
Choose the visible border and the space behind it
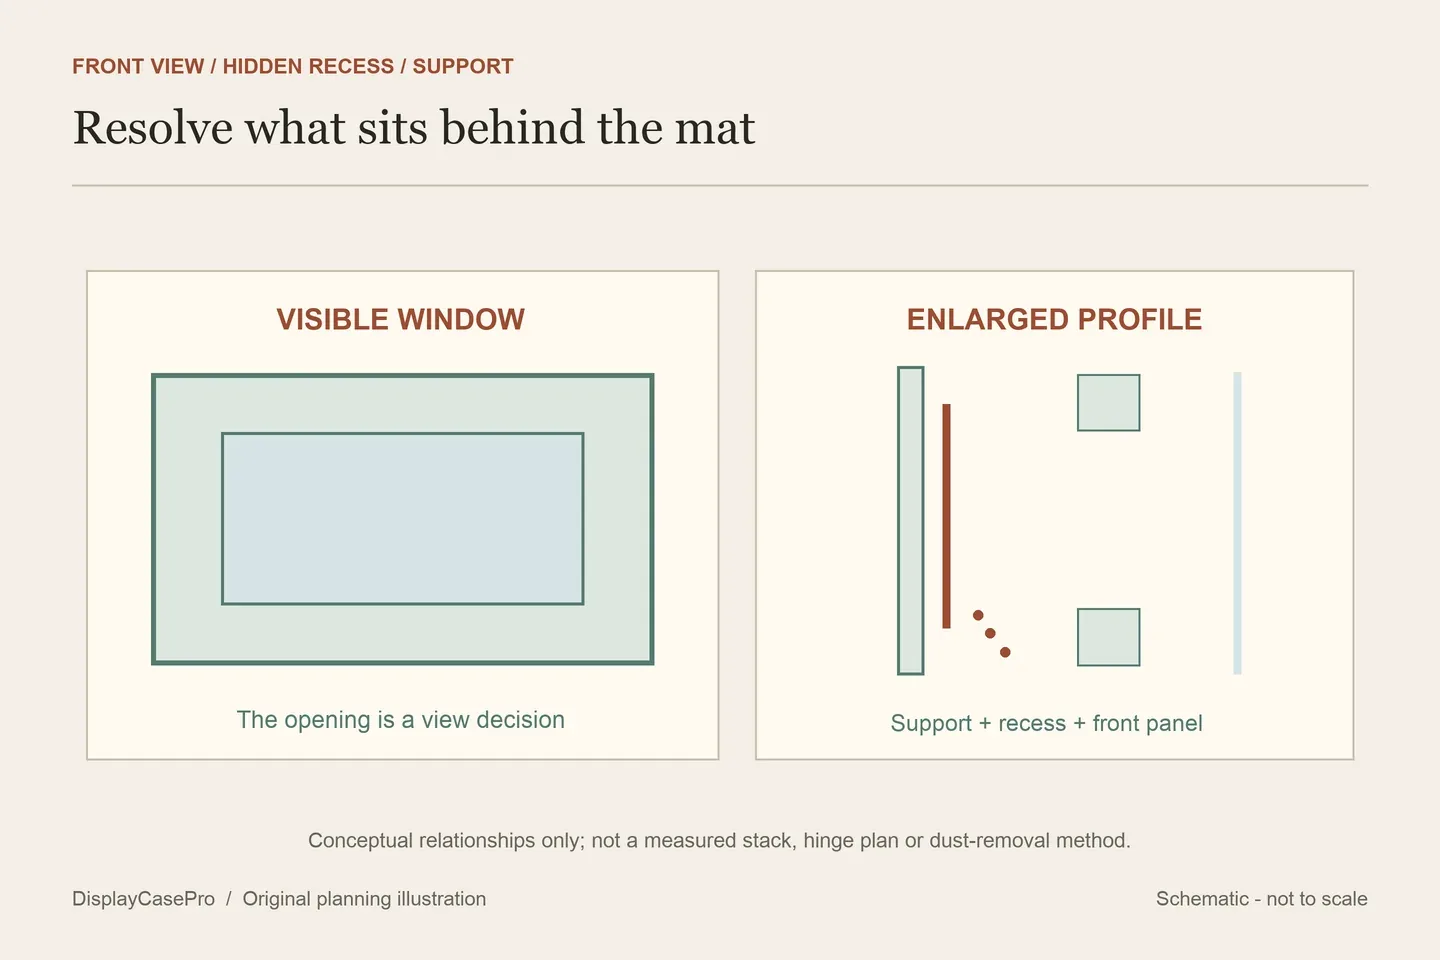
A window mat supplies a visible border around the image. For a pastel, the relationship behind that border matters too: a recess can give loose particles somewhere to fall instead of collecting on the visible mat edge. The hidden arrangement and the opening seen from the front are separate parts of the design.
Tricia Findlay’s Unison Colour tutorial demonstrates a gutter mount with a different opening from the top mat. Its example measurements belong to that artwork. Use the idea to request a section drawing for your own package, including how the visible mat is supported.
| View | Visible result | Resolve before fitting |
|---|---|---|
| Window mat with a recess | A defined border around the chosen image and signature. | The hidden recess, supported mat and separation above the pigment. |
| No visible mat | The image sits within a narrower surrounding frame view. | The actual support and spacer system; removing a mat does not resolve clearance. |
| Existing artist-mounted work | An already chosen sheet, border and supporting structure. | Which parts should remain, and who can assess any proposed change. |
The written How to Pastel overview shows both matted and matless examples, with spacers in its matless frames. Compare those appearances with your actual image. Keep a signature or deliberately exposed edge in the layout proof instead of covering it to suit a convenient frame.
Measure the completed mount, not only the picture
Record the whole supported width and height, the intended window and the complete assembly depth. Include the backing, mount, recess or spacers and glazing. Ask what the frame’s receiving size describes; the finished outside dimensions are needed separately for wall planning.
| Check | What to establish | Problem it reveals |
|---|---|---|
| Front view | The actual image, signature and approved opening. | A frame that fits but conceals part of the work. |
| Surface gap | Where glazing and the mat sit above the supported drawing. | An apparently deep frame with an unsuitable contact arrangement. |
| Receiving profile | The complete package and appropriate retaining parts. | A closure that needs force or leaves the stack improperly retained. |
| Handling and hanging | The supported assembly, closure sequence and finished weight. | A fitting operation that jars the artwork or uses unconfirmed hanging parts. |
Sheila Evans’s detailed instructions explain how backing, mats, spacers and glazing can build a substantial package. They also highlight the disturbance caused by bumping a pastel during fitting. Her hardware and spacer dimensions are specific choices, rather than a standard kit for every drawing.
Prepare the components and handling sequence first
Resolve mounting responsibility before assembly. A suitable framer should identify the attachment materials, how the support accommodates movement and how the drawing could later be removed. “Archival tape” alone does not specify those relationships.
Prepare the frame and clean its glazing according to the actual product’s instructions, away from the exposed artwork. Keep cleaning cloths and tools separate from the pigment surface. Follow the agreed assembly sequence; do not assume a face-down procedure for an ordinary print is suitable for a pastel.
Before closure, check the approved view, supported mat and intended separation. The frame should receive the specified package without forcing it flatter. Use the usable frame-depth guide when recording the receiving surfaces. For a finished work, choose a position away from direct sunlight and avoid treating upgraded glazing as unlimited protection.
Save the decisions that belong to this painting
The pastel framing record separates the medium, existing treatment, visible opening, recess, glazing and full package. Keep the approved layout, current frame instructions and artist information together.
This is a researched framing guide. No pastel, mount, glazing, fixative or hanging assembly was physically tested for this article.
Comments
Share a display tip or ask a question.