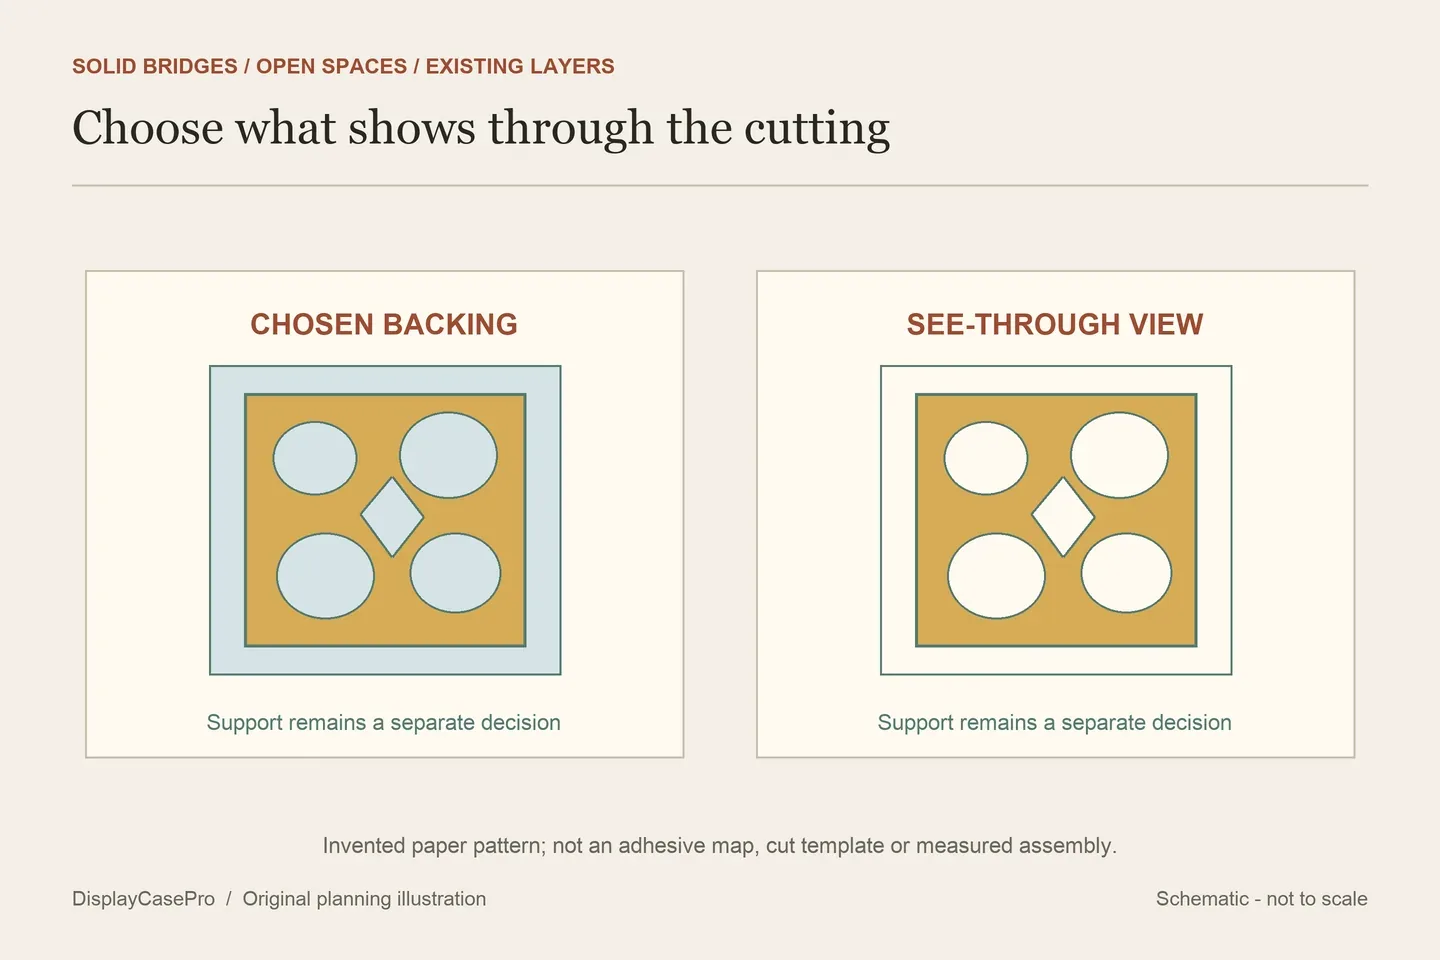
Frame a papercut by deciding what should show through its open spaces, identifying the surviving paper that can be supported, and choosing the complete mount and glazing arrangement. A single delicate cutting and an already layered paper scene need different packages. Choose the view without using the front glass to press the artwork into place.
Start with the paper that remains
Record the artist, materials and any existing mounting instructions. Is the work cut from one sheet, made of several separate pieces, or assembled into a stack? Keep an artist’s attached layers together unless a suitable specialist has assessed a reason to change them. A reproduction of a papercut is a different object from the original perforated paper.
Look at a reference photograph for the solid outer border, narrow bridges between shapes, unsupported points and any detached sections. These features matter more to the mounting discussion than the rectangular size alone. Avoid lifting a fragile cutting by a narrow edge to find out how strong it is.
Chris Paschke’s 2006 article on papercut mounting explains how thin connectors, water-sensitive color and attached versus separate layers change the task. Its examples include dye transfer onto a backing. Treat an unknown paper or painted surface as something to identify, rather than assuming every cutting can take the same adhesive or wet preparation.
Choose what the viewer sees through the holes
A backing color becomes part of the picture wherever paper has been removed. Compare options using a photograph or non-contact mock-up before attaching the original. A dark background can make a light cutting distinct; a similar color can emphasize shadows. Check small details at the intended viewing distance instead of choosing from a close-up alone.
| View | What shows through | Resolve first |
|---|---|---|
| Backed | A deliberately chosen board or fabric-colored surface. | Contact materials, support and the intended separation behind the cutting. |
| See-through | The wall or scene behind transparent panels. | How the paper is supported, panel separation and the changing room background. |
| Layered | Other cut sheets within an existing composition. | Which layers are already attached, their alignment and complete projection. |
Light & Paper’s display examples compare paper-backed, shadowbox and transparent views of the artist’s cuttings, alongside open clips. Their visual differences are useful. The tape and clip choices belong to those examples; they do not establish a suitable attachment for a different fragile work.
The Guild of American Papercutters’ framing resource also uses “floating” for both a transparent double-panel view and cut-paper layers in a deeper box. Ask a supplier which arrangement they mean. The word alone does not describe what touches the artwork or carries its weight.
Agree on the mount before choosing a shallow frame
Send the framer a photograph showing the entire cutting and its condition. Ask which solid parts can carry attachment, what supports loose areas, which materials contact the paper and how later removal would work. A hinge location suitable for an uncut print may land on empty space or a weak bridge here.
Molly Lemon’s handmade-paper print advice compares visible-edge and aperture mounts and discusses the difficulty of removing tape. Retain those edge and removal questions while recognizing that her prints have a different construction. Do not turn a suggested hinge count into a rule for a perforated sheet.
A transparent appearance still needs a support decision. The Canadian Conservation Institute’s paper-framing note cautions against pressing paper between glass panels or glass and board held with clips. It describes a framing package with mat, backing and glazing. Have a suitable framer resolve those relationships for the particular cutting.
Check the opening and the complete depth separately
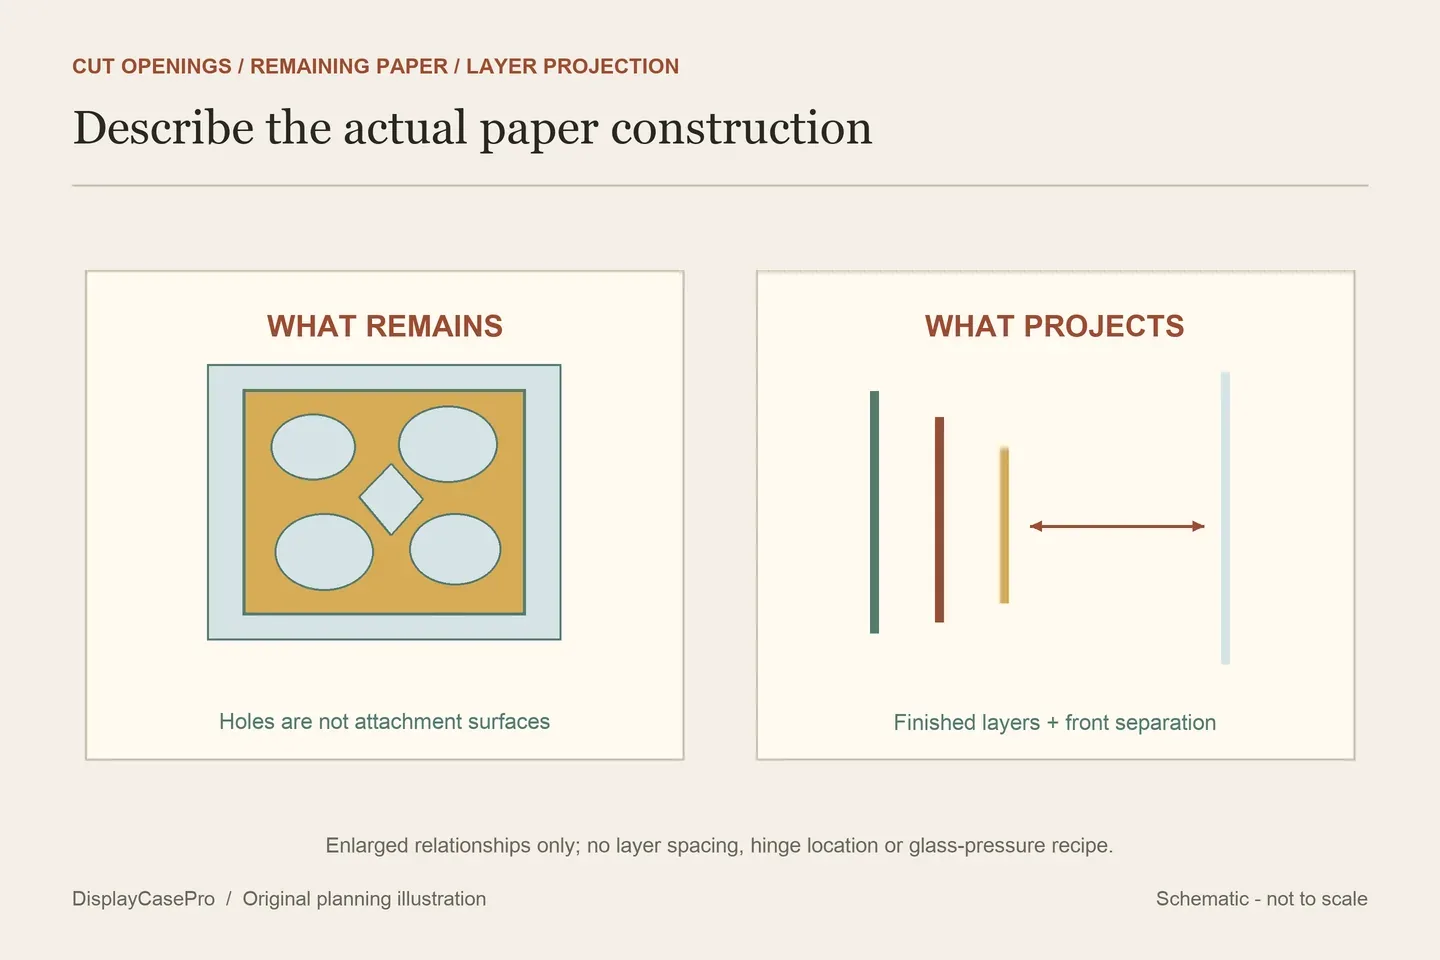
Mark the visible opening on a reference image. Keep the outer border, signature and projecting points within the view you approve. A window can hide an edge without reducing the amount of original paper that must fit behind it.
| Check | Record | Question it answers |
|---|---|---|
| Whole work | The intact outline and any retained existing mount. | What must the receiving assembly accommodate? |
| Window | The chosen view of border, points and signature. | Will a mat or frame lip hide an important part? |
| Projection | The supported cutting, layer spacing and frontmost detail. | Does the glazing clear the completed arrangement? |
| Removal | The opening sequence and person responsible for releasing the mount. | Can the display be accessed without pulling a fragile bridge? |
Use the usable frame-depth guide for the receiving surfaces after the mount is specified. A deeper-looking outside moulding does not establish the space above the highest paper layer.
Review the enclosure and the room background
Mural Moods Art’s glassless-display guide discusses several open and glazed approaches. An open frame exposes cut edges to the room; removing glazing does not by itself supply protection. Its coating, cleaning and generic mounting routines should not become preparation instructions for an existing original.
Prepare and clean the frame components separately, following the chosen products’ instructions. Agree how the cutting will be supported during insertion and closure. Stop if closure depends on flattening a raised section. For a see-through view, check the actual wall color, nearby pattern and reflections before committing to that location. Keep direct sunlight out of the plan.
Save the construction and viewing decisions together
The papercut framing record separates the paper construction, fragile areas, background, approved window, support and complete depth. Keep the artist’s instructions and agreed removal plan with it.
This guide compares published approaches. No papercut, attachment, encapsulation method, glazing or preservation outcome was physically tested for this article.
Comments
Share a display tip or ask a question.