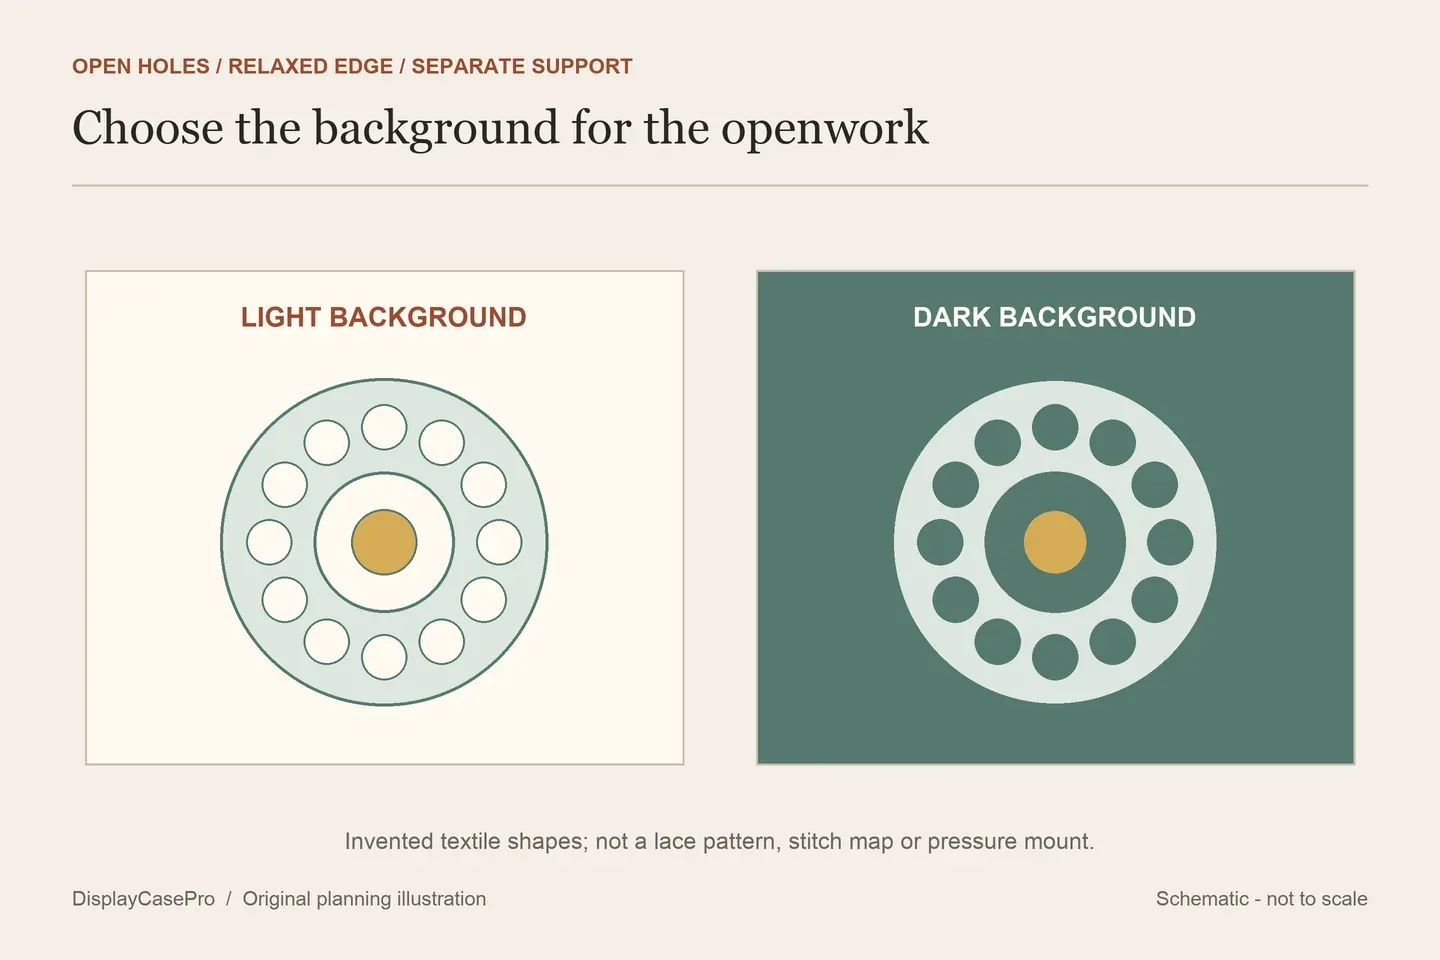
Frame a doily by choosing a background that makes its openwork readable, then resolving a support suited to the textile before ordering the frame. Keep its relaxed outline, fragile joins and scalloped edge separate from the size printed on a ready-made frame.
A dark background can reveal pale lace; a quieter light background can soften the contrast. Neither choice tells you how the doily is held. Decide the appearance and the mounting arrangement together, without making tight glass, stiffener or stretched points the default way to keep it in place.
Identify what you have before opening the frame
Record the maker and technique if known. “Doily” describes a use and form, not one construction: crochet, embroidered net and other openwork can require different treatment. Keep family identification separate from what the object actually documents. A remembered date can be labeled as a family recollection.
Note loose joins, tears, discolored areas, distortion and any previous stiffening or adhesive. Do not pull the points outward to make the outline symmetrical. If it is fragile, soiled or important to the family, have a textile conservator assess it before preparation or mounting. Washing or ironing a backing fabric is a different decision from treating the doily itself.
Choose what shows through the holes
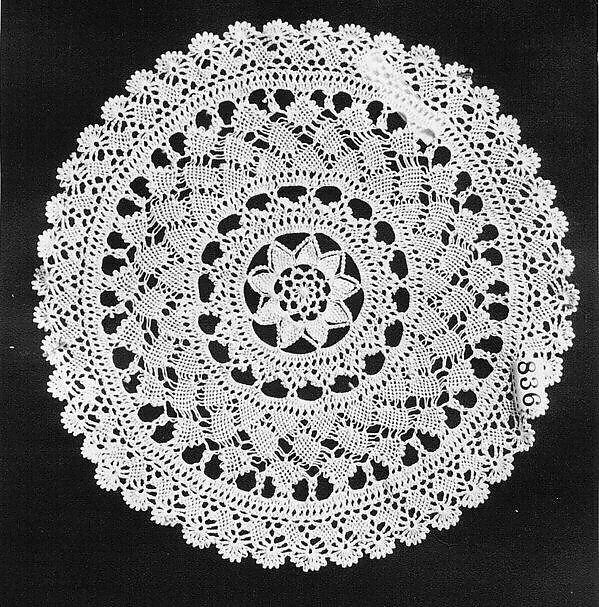
Use a photograph or paper silhouette to compare background colors first. Look at the center, the smallest openwork and the perimeter from the distance where the frame will hang. A background that makes the outside edge clear may still swallow fine pale threads in the middle.
Sum of Their Stories demonstrates the effect of a contrasting background in a family-doily project. Its pressing and glass/backing arrangement describe that craft project, rather than an appropriate support for every inherited textile.
| Background | Look for | Resolve separately |
|---|---|---|
| Dark | Pale threads and small openings remain distinct. | Suitable contact fabric, colorfastness and support. |
| Light | The outline reads without losing fine joins. | Enough tonal difference at the intended distance. |
| Raised view | Shadows do not obscure the lace pattern. | A support that does not depend on stiffening the textile. |
The background is visible through the textile, so inspect more than its color. Ask what the doily will touch, how the support is covered and whether the chosen fabric is suitable. “Acid-free” on one component does not describe every contact layer or establish the mounting method.
Resolve support without closing the openwork
The Canadian Conservation Institute’s small-textile mounting guidance concerns small, light, flat textiles and a fabric-covered rigid support. Its scope matters: an uneven, heavy or deteriorated object needs its own assessment. Attachment placement follows the textile’s structure and condition; it is not a standard outline to copy around every scallop.
Artifex’s written framing advice separates textile attachment from glazing and recommends hand-sewn support instead of adhesive. Ask the framer how those principles apply to the actual threads and open areas. A hole is empty space, and a decorative point is not automatically a suitable place to carry weight.
Compare proposed methods by what touches the doily, what carries it and how it can be released. Yellow Brick Home’s raised crochet project uses stiffener and stacked supports to create its floating appearance. That visual result does not justify applying the same preparation to a family piece.
Likewise, My Turn for Us presents a no-glue arrangement held between glass and backing. Absence of glue alone does not settle compression, surface contact or removability. Have the complete arrangement explained before approving it.
Give each doily in a group a readable edge
Make a paper layout with each doily’s full outline. Start with the largest or most meaningful piece, then place the others where their centers and edges remain distinguishable. There is no required number of doilies or fixed margin.
Masterpieces of My Life explores grouped and overlapping doily compositions. Use that as a layout reference. Overlapping real textiles introduces contact and support questions that a paper arrangement cannot answer. Separate mounting decisions for each doily can preserve a clear composition without making one piece hold another.
| Part | Record | Question to settle |
|---|---|---|
| Outline | Relaxed perimeter and vulnerable points. | Can the chosen view avoid stretching? |
| Mount | Contact layers and approved attachment. | What actually supports the textile? |
| Glazing | Highest finished projection. | How is separation maintained? |
| Access | Release instructions and responsible person. | Can the mount be removed without pulling the lace? |
Measure the finished mount, then order the frame
Include the full scalloped edge, visible background, mounted projection and separation from the glazing. Our guide to usable shadow-box depth explains why an outer frame depth is different from the receiving space for the completed assembly.
Choose a location and light plan with the framer; filtering glazing does not promise unlimited display life. Keep the agreed arrangement and unresolved condition notes in the doily framing worksheet. Record the final view before closing the frame.
Common questions
Must a doily be stretched into a perfect circle?
No. Work from the condition and relaxed shape of this textile. Making the photograph look symmetrical is not permission to tension fragile threads.
Can I use a ready-made frame?
Only if its opening and receiving depth accommodate the approved support and glazing separation. Resolve that assembly before buying by nominal size.
Comments
Share a display tip or ask a question.