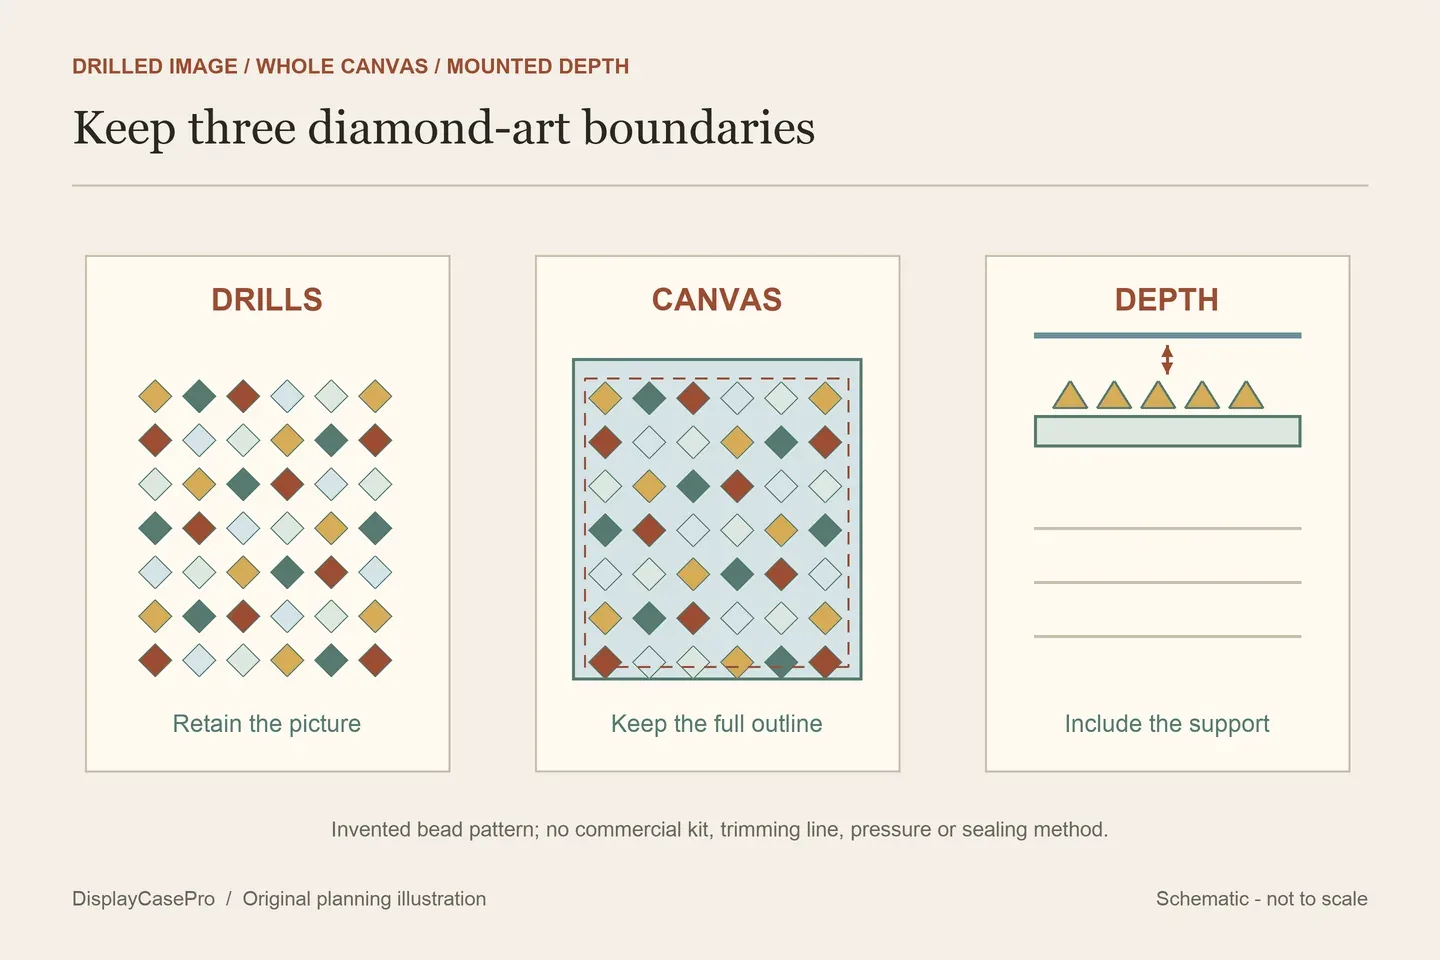
Frame a diamond painting by measuring the drilled picture and the complete canvas separately, then deciding whether the image will stay flat or wrap around a support. Choose backing, a visible opening and enough space for the raised drills as one assembly. Sealing and trimming are separate decisions, rather than automatic framing steps.
Record what is finished before changing its edges
Identify the kit and maker, orientation and drill type where known. Record any existing sealer and the canvas’s condition. Check the perimeter and any visibly loose or displaced drills using the kit maker’s guidance. Keep remaining instructions and spare drills with the project record.
Diamond art places drills on a prepared adhesive canvas. It differs from interlocking jigsaw pieces and from beads stitched through fabric. A mounting or finishing method suitable for those other crafts does not automatically describe this kit.
Leave the complete canvas intact while planning. Its blank border, printed key and unworked areas may occupy space beyond the drilled picture. Decide what should remain visible and what can sit behind a planned window before choosing a standard-size frame or cutting anything.
Measure three outlines rather than one advertised kit size
Measure the actual completed work in the intended orientation and keep the original units. Record the drilled area’s extreme width and height, then measure the whole canvas. A stated kit size may describe a different boundary from the frame’s receiving area.
| Field | What it describes | Check |
|---|---|---|
| Drilled picture | The image formed by the completed drills. | The last rows, intended orientation and details near the edge. |
| Whole canvas | The intact cloth, including blank border and printed information. | The material that remains behind the window or supports an approved attachment. |
| Visible window | The view after the frame lip, mat or other border is fitted. | Which drills, picture details and margins are concealed. |
| Mounted package | The backing, canvas, drills and any specified spacing. | Usable receiving depth, retention, closure and complete weight. |
Frame It Easy’s diamond-painting guide recommends measuring the actual work and explains coverage by its own frames. Do not add or subtract that merchant’s stated overlap from every frame order. Ask the chosen supplier which field receives the whole assembly and what remains visible.
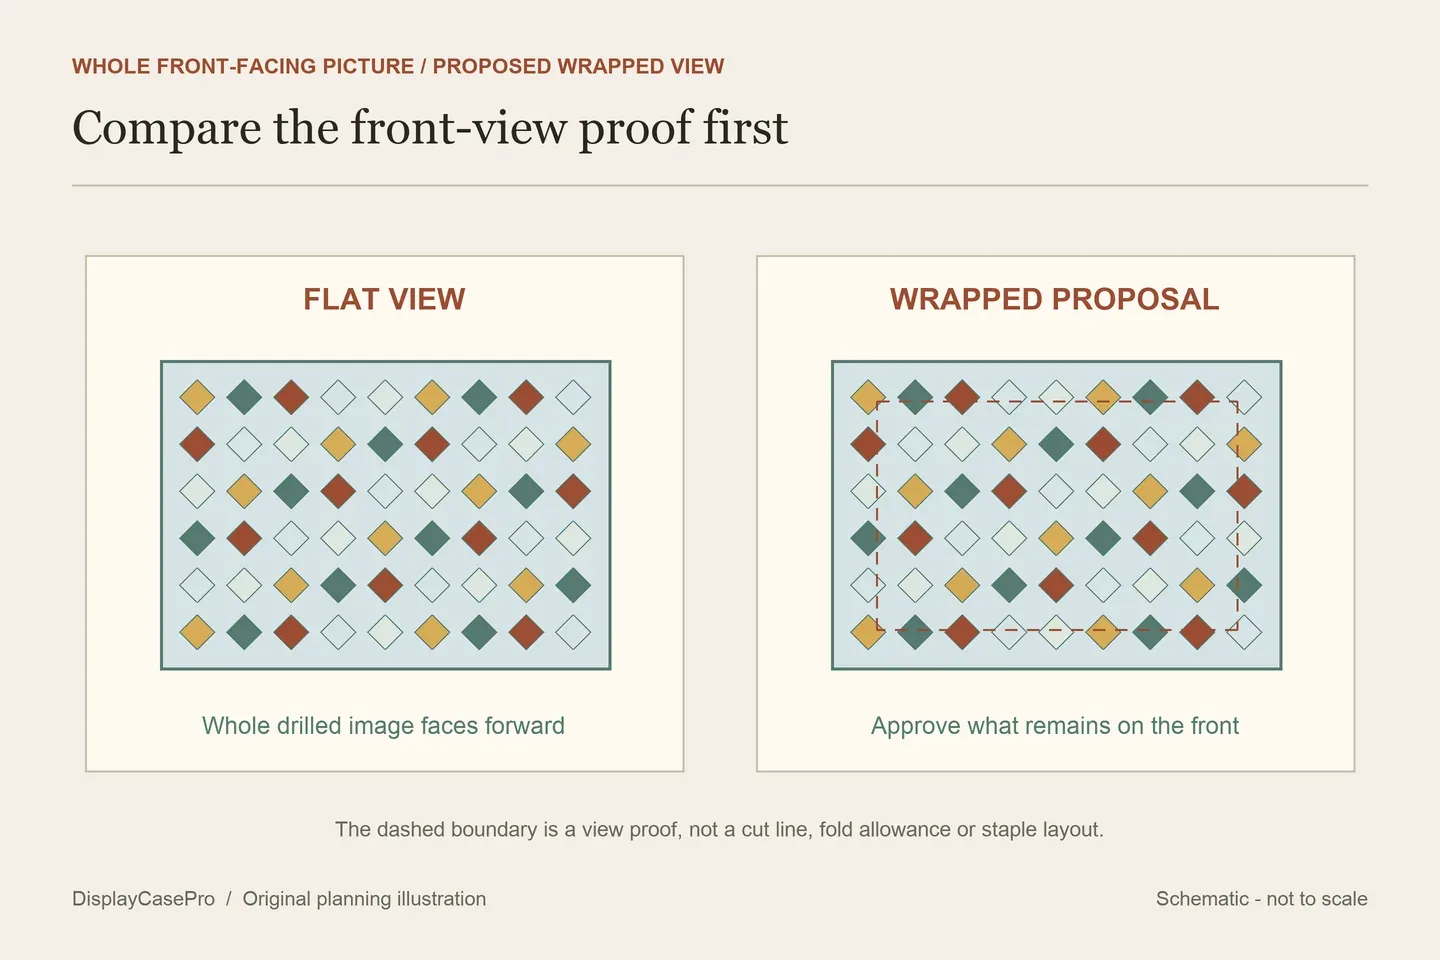
Approve the proposed opening over a reference photograph. If retaining every drilled row is important, include that requirement explicitly. A frame can receive the canvas while still hiding part of the picture.
Choose whether the drilled picture stays flat or turns around an edge
Flat framing can keep the intended picture facing the viewer. It still needs an identified backing and attachment, rather than reliance on the front panel to hold the canvas in place. A deeper frame may help accommodate an assembly, but the word “shadow box” does not specify the mount.
A wrapped presentation changes which part of the picture faces forward. In The Crafty Blog Stalker’s project, the author deliberately uses a smaller support, wraps drilled artwork around it and trims the canvas. The article warns that some of the painting may be cut off. That choice needs approval if you want the entire picture retained.
| Format | Potential view | Resolve |
|---|---|---|
| Flat picture frame | A front-facing picture within a chosen border. | The actual support, window coverage and clearance above the drills if glazed. |
| Deep or shadow-box frame | A supported flat picture with a more substantial surrounding package. | The usable depth after backing and spacers, plus the mount’s attachment to the frame. |
| Wrapped stretcher | A front image with selected material turning onto the sides and reverse. | The front-view proof, acceptable alterations and instructions for the exact kit and support. |
Large Print Studio’s assembly guide is written for its own numbered, keyed stretcher. Its alignment and tension sequence belongs to that product. Identify the supplied support before following it; an ordinary painter’s stretcher that looks similar is not necessarily the same system.
Treat sealing as a kit-specific surface decision
The framing references do not agree on making sealing routine. Awesome Pattern Studio’s overview combines sealing with framing, while Diamond Art World discusses circumstances in which it may be unnecessary. Their product suggestions and application directions should not be combined into a general recipe.
As a maker-specific reference, Diamond Art Club says its own kits typically do not require sealing. That statement describes its products, rather than every diamond-art canvas. Check the guidance for the kit you actually completed before applying another material.
If a surface treatment is proposed, record what it is intended to solve and obtain suitable instructions. Existing loose drills, a wish to keep the canvas flexible and the intended display format are separate considerations. A recommendation for a generic craft product does not establish how it will behave on your particular canvas.
Resolve backing, drill clearance and normal closure together
Ask how the whole canvas will be supported, where it will attach and what later removal involves. A backing board is one part of that answer. Gluing the full reverse, attaching selected margins and wrapping material around bars produce different arrangements and different access afterward.
For a glazed frame, confirm separation above the finished drills, including the highest areas and any existing surface treatment. The frame should close according to its own instructions without forcing the artwork or using the glazing as a clamp. Review the appearance under the intended room lighting instead of assuming that every front panel either hides or preserves the same sparkle.
For an open-front display, make the exposed surface and future handling part of the decision. Taking the glazing out of a ready-made frame does not itself provide suitable retention or a complete mounting plan.
Once the support is specified, use the usable frame-depth guide for the receiving surfaces. Include the backing and raised drills in the assembly rather than measuring from an empty frame’s back panel.
Check the final front-view proof, retained margins, complete weight and the frame’s actual hanging arrangement. Keep drilling, cutting, stretching and closure instructions tied to the chosen product. A source photograph or nominal kit size does not demonstrate that your completed piece fits.
Keep the kit, view and mounting decisions in one record
The diamond painting framing record separates the drilled picture, whole canvas, window, support, raised depth and maker guidance. Save the approved layout before any alteration and record whether a sealer was already present.
This is a comparison of published framing approaches. No kit, frame, drill adhesive, sealer, stretching method or preservation outcome was physically tested for this article.
Comments
Share a display tip or ask a question.