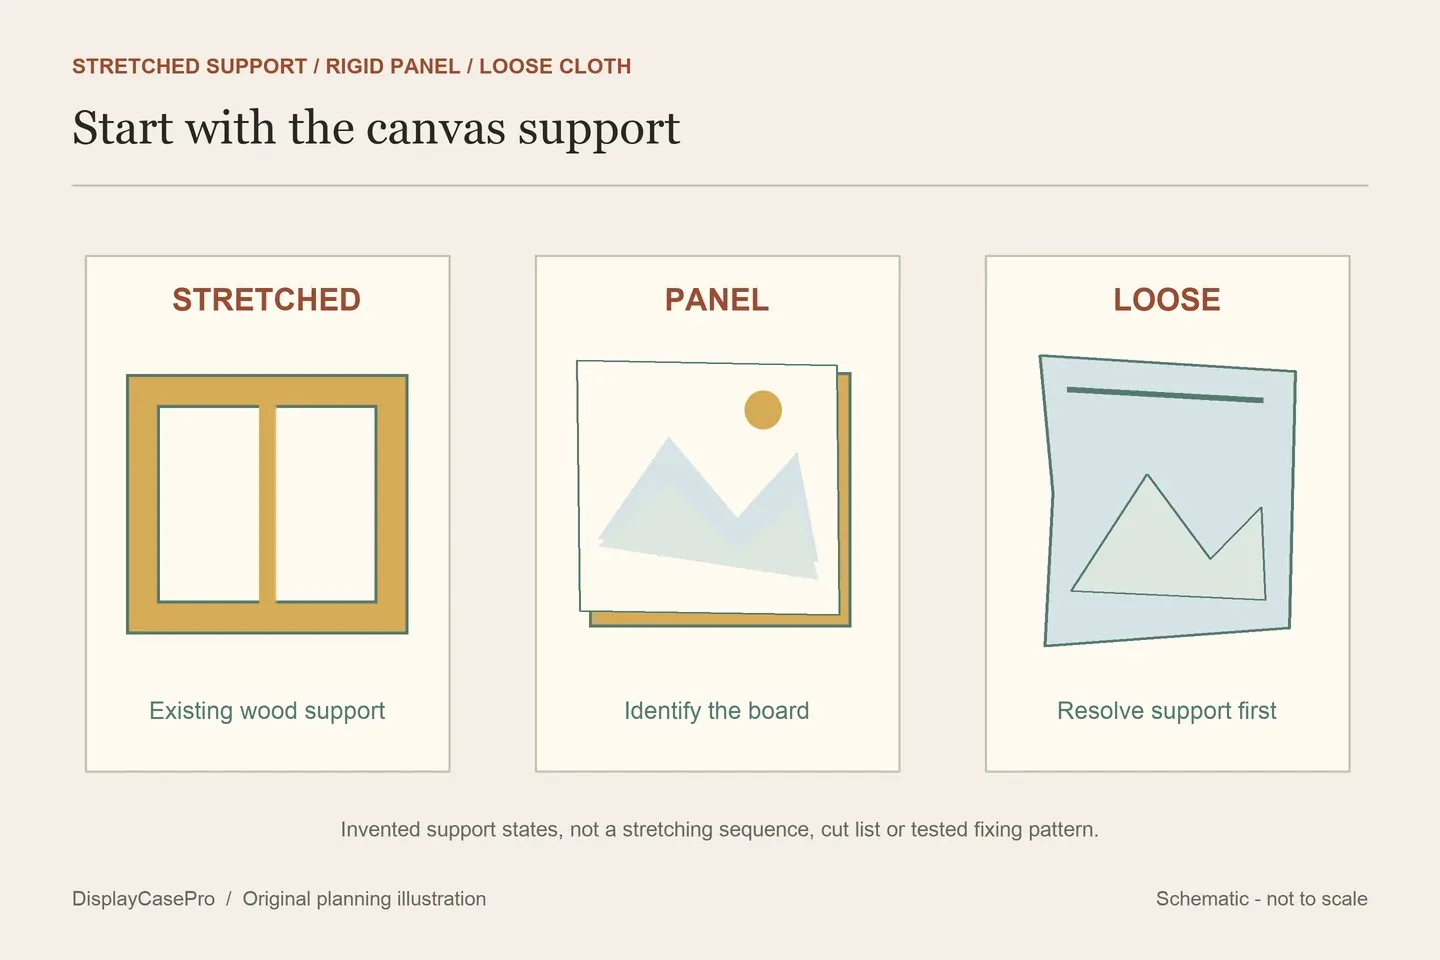
Frame a canvas painting by identifying its existing support, measuring the complete supported artwork and choosing an outer frame with the right receiving profile. Resolve how the painting is retained before buying the surround. A canvas stretcher, a decorative frame and the wall-hanging fittings perform different jobs.
Identify what is supporting the painting now
Look at the artwork’s record and its reverse where this can be done without disturbing it. Record whether you have loose painted canvas, canvas attached to a rigid panel, or canvas already stretched over a wooden support. A stretcher is the structure carrying the cloth; the outer frame surrounds that supported painting.
Keep the artist’s instructions, existing labels and any information about the original frame. A decorative surround may be part of the intended work rather than a replaceable accessory. Flaking paint, a damaged corner or an unstable support needs assessment before a new frame is fitted.
| State | Identify first | Next step |
|---|---|---|
| Already stretched | The supported width, height, depth, corner folds and painted edges. | Choose an outer frame and a retaining system for that actual support. |
| Canvas on a panel | The rigid board, its thickness, condition and existing attachments. | Specify a panel-appropriate fit and retention; a stretched-canvas fitting may be unsuitable. |
| Loose or rolled canvas | The painted image, intact cloth, margins and any previous stretching. | Resolve support with the artist or a suitable framer before ordering an outer frame. |
Framebridge’s canvas guide distinguishes a painting already on stretcher bars from unstretched cloth sent for stretching. Its published frame gap, depth limits and service timing belong to that service description. Confirm the current route for your artwork instead of treating those figures as standard frame specifications.

Measure the complete supported painting and the intended view
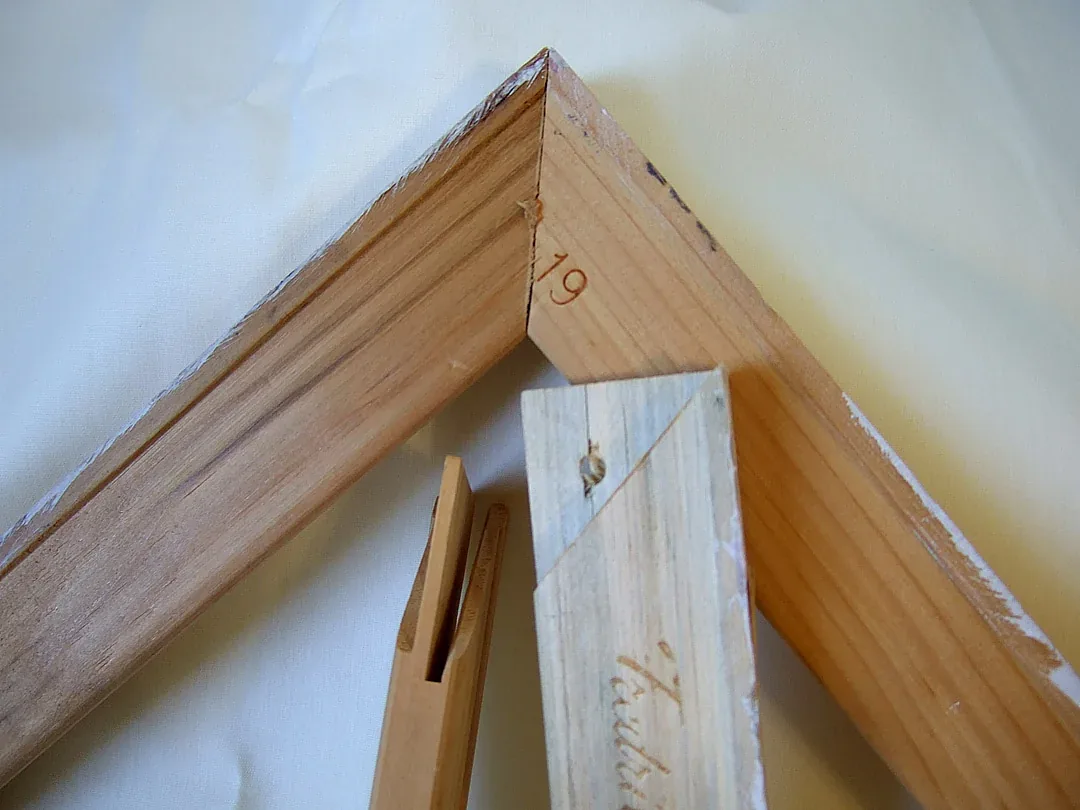
For an already stretched painting, measure its actual outer width, height and depth in the intended orientation. Include bulky cloth folds at the corners and any existing backing or fittings that will remain. Check whether the support is square; two matching nominal dimensions do not establish the corner fit.
Record the view separately. A painted edge, a signature near the front border or thick paint along the perimeter can change the appropriate profile. Use a reference image to mark the details that must remain visible. The finished outer footprint on the wall is another dimension again.
Little Red Industries’ timber-surround project illustrates why folds and profile depth matter. The author adds an allowance around her stretched print and uses particular moulding and screws. Those measurements describe her build, rather than an amount to add to every painted canvas.
Send the supported-artwork dimensions to the supplier and ask what its order fields mean. Does “art size” describe the painting being received, or the frame opening after a surrounding gap is included? Have the supplier confirm the relationship before ordering.
Choose the profile by how it meets the artwork
A conventional rebate frame receives the painting from behind a lip, which can cover part of the front edge. A canvas floater surrounds the supported painting with a visible gap. Neither name describes the complete attachment, and sellers may use “tray” and “floater” differently.
The Canvas Art Rocks guide compares those style labels, wrapped edges and unframed presentation. Request a profile drawing or a clear description of the actual receiving surfaces. A photograph showing an attractive gap does not identify where the painting is supported.
| Interface | Record | Resolve |
|---|---|---|
| Front edge | What a lip covers, or what a surrounding gap reveals. | The signature, painted sides and any raised paint near the contact area. |
| Receiving pocket | Its actual opening and available depth. | Whole supported dimensions, folds, backing and normal insertion. |
| Reverse profile | Where the support sits relative to the back of the outer frame. | The retaining-part contour and any projection toward the wall. |
| Hanging assembly | The complete frame, artwork and fitted hardware. | The specified load path, wall clearance and instructions for that assembly. |
Choose retaining parts for the actual reverse profile
Pender and Peony’s offset-clip tutorial shows a stretched support projecting behind a back-loading frame. The offset accommodates a difference in level. The example does not establish a universal clip size, screw length, number of attachment points or hanging-ring position.
Identify the frame, support and retaining parts together. Ask which surface each part attaches to and how the specified screws avoid the cloth, painted face, existing tacks and thin frame sections. A packet labelled “canvas clips” still needs to match the receiving frame and support.
The Canadian Conservation Institute’s painting-framing note describes examination, edge protection and retaining plates. It warns against nails for securing a painting into its frame and treats keying out as work requiring training. Do not adjust a painted canvas’s tension to solve a frame-size problem.
That distinction matters when adapting a decorating project. Thistlewood Farms’ surround uses nails on the author’s own stretched print after changing the desired alignment. Its construction choices and historical budget are not an assessed mounting method or a current cost estimate for your painting.
Review the fitting before closing or hanging the frame
Confirm that the artist or an appropriate professional considers the painting ready to frame, including any paint or varnish. Arrange suitable support during fitting; a tutorial’s face-down work surface may be inappropriate for raised or fragile paint. Follow the resolved frame and retaining-part instructions rather than improvising around a tight corner.
Check the front view, edge contact and reverse projection before final closure. If glazing is included, the CCI note requires separation from the painted surface. The frame must receive the whole specified package; adding a front panel later can change both depth and weight.
Use the usable frame-depth guide for the general reference surfaces once the painting’s support and fittings are known. Confirm the complete hanging arrangement and its instructions, including any rear projection that affects the wall position.
Save the artwork, frame and fixing information together
The canvas painting framing record keeps the support state, corner envelope, intended edge view, order definitions, retaining parts and hanging assembly in separate fields. Save the profile drawing and current supplier confirmation with it.
This is a source-based planning guide. No artwork, frame, retaining part, tension adjustment or hanging assembly was physically tested for this article.
Comments
Share a display tip or ask a question.