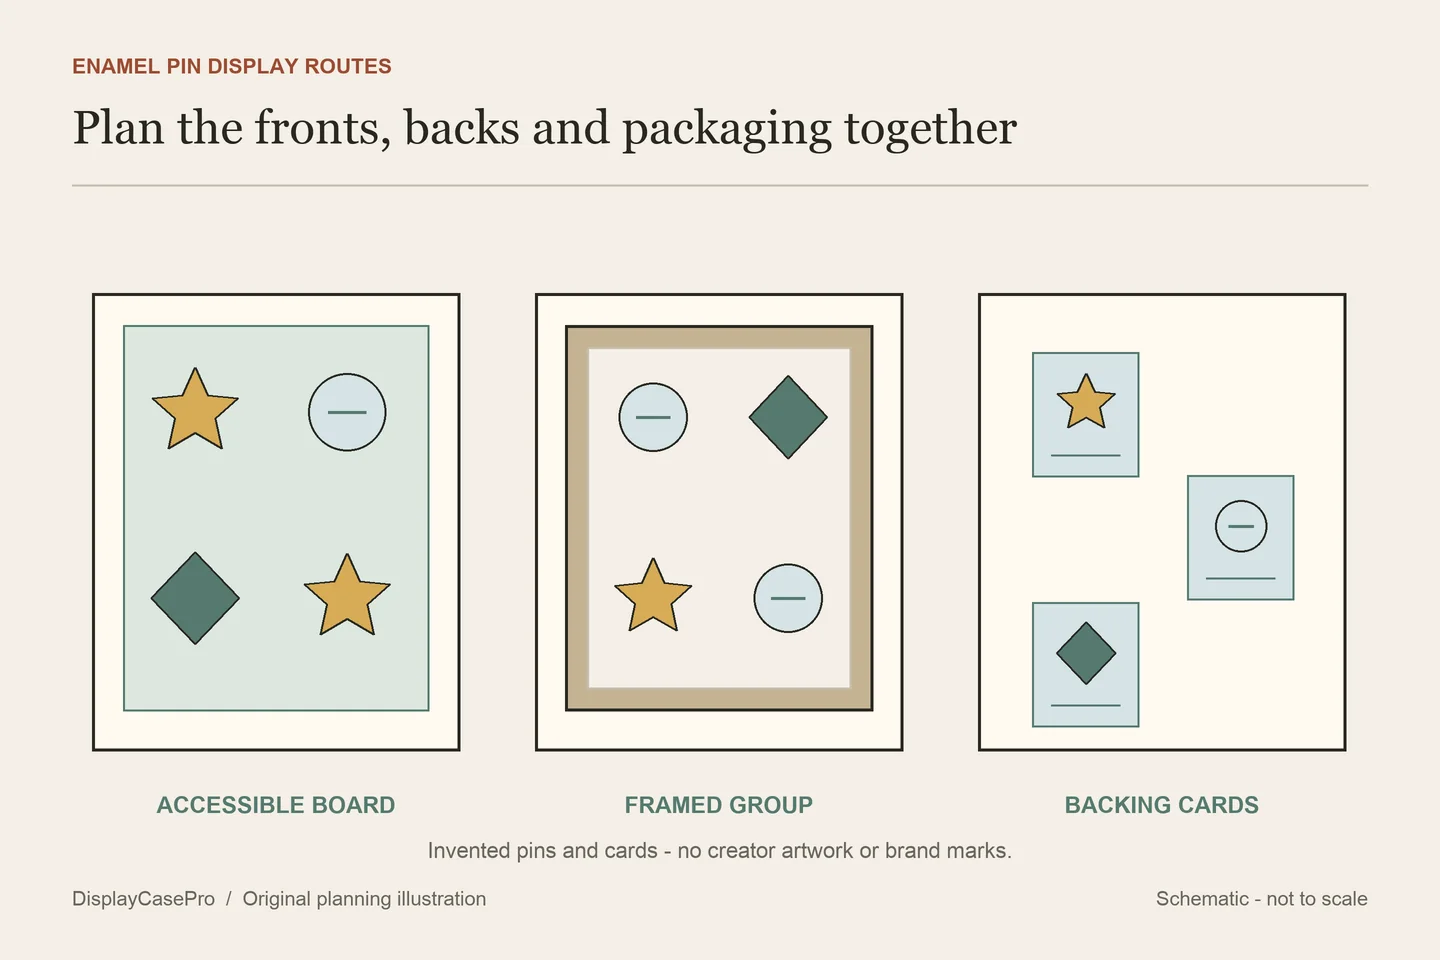
To display enamel pins, choose a format that suits how often you take them out, then plan both sides of the mounting surface. An open board gives quick access, a framed group separates a keepsake collection, and a card-based display can retain packaging. In every format, the pin's post, backing or proprietary retention system matters as much as its front design.
Choose from access, packaging and retention
| Your main task | Display route | Check before loading |
|---|---|---|
| Take pins out to wear or trade | An accessible pin board, banner or purpose-made display book | How each pin releases and returns without bending its post |
| Show one coordinated keepsake group | A shadow box or framed pin board | Front projection, rear backs and the route to open the frame |
| Retain original backing cards | A card-and-pin layout with suitable support | The complete card footprint, rear clutch and readable maker information |
| Highlight a few pins on a desk | A pin-specific stand or small supported board | Post layout, stability and access to the backs |
These routes concern modern enamel badges with short posts. Antique long-shaft hatpins, button-pin safety bars and hinged brooch fittings need different support decisions. A pin worn on a hat is not automatically the same object as a historical hatpin.
Keep wearable pins separate from a group you intend to handle infrequently. A display book can hold a changing collection between outings, while a framed set stays together. You can use both formats without assigning every pin to a permanent wall arrangement.
Identify what holds each pin before choosing the backing surface
Turn to the pin's actual attachment. Record the number and positions of posts, the type of back and any projecting chain or decoration. Two pins with similar fronts can need different rear access. A large two-post design should not be forced into positions laid out for a small single-post badge.
For an example of attachment variety, WizardPins' design guide lists rubber PVC clutches, butterfly clutches and magnetic options for its pins. That does not identify the attachment on your collection or make one style universally most secure. Use the instructions for the actual pin and back.
A system with accessible rear clutches
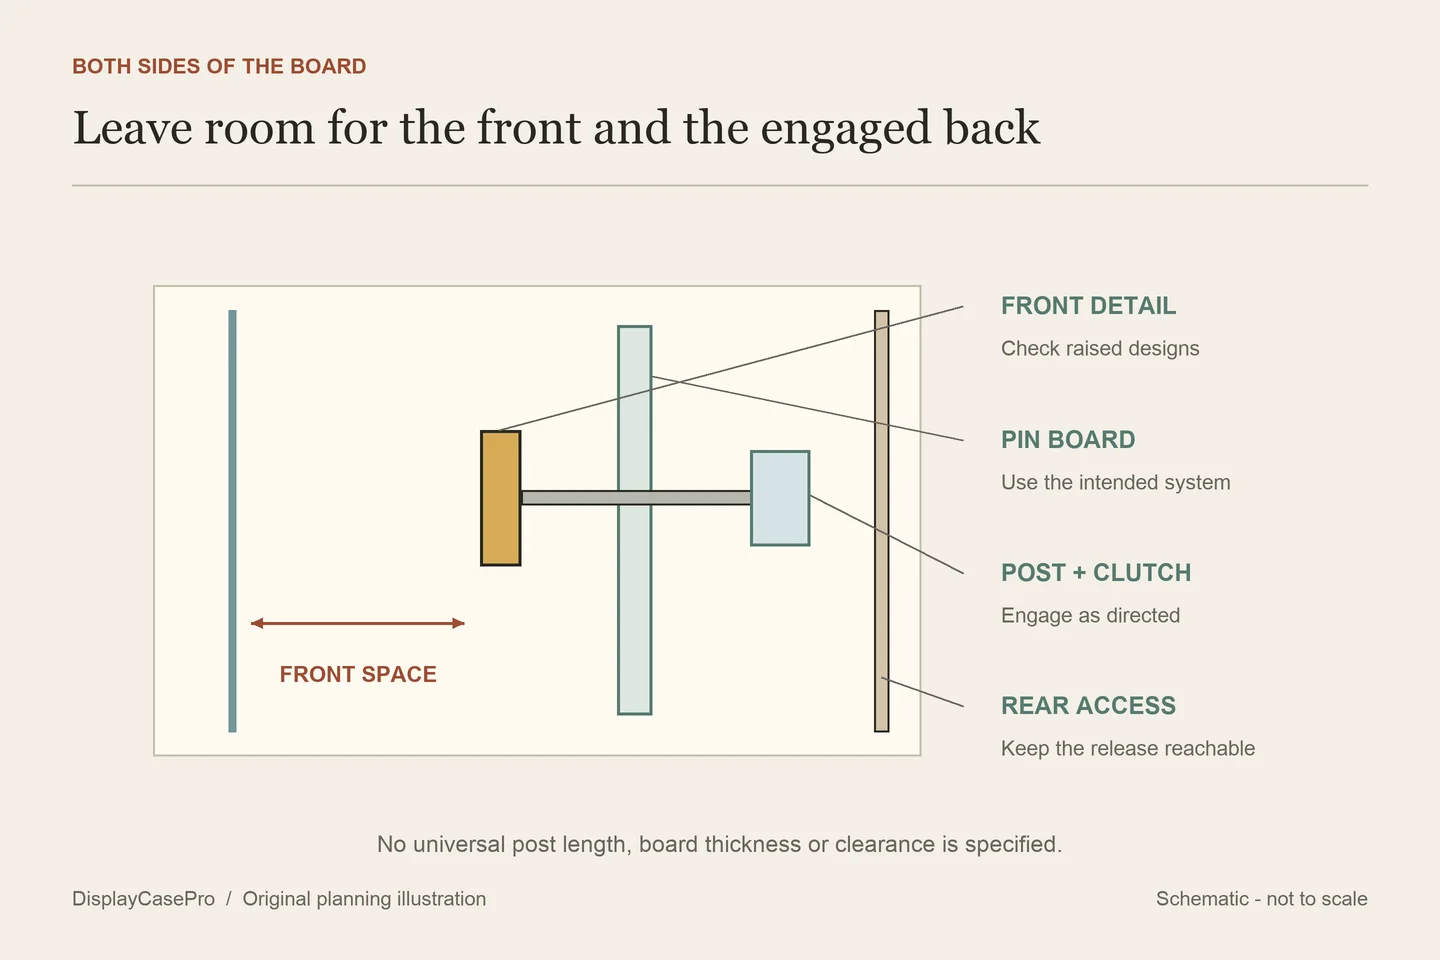
If the pin's back secures it behind fabric or a board, you need enough accessible post for the intended clasp to engage. A thick backing can leave too little post exposed; a rigid layer or the frame back can also obstruct the clasp. Establish the material and thickness appropriate to the pin and the display system before making repeated holes.
Plan how you will reach the back during changes. A removable pin board can be practical inside a frame, provided the frame and board are designed for that arrangement. A wall-mounted board that requires dismantling the whole display to release one back may be inconvenient for pins you wear frequently.
A maker-designed back-free system
Some purpose-made boards retain pins without their usual clutches. GoPinPro describes its hanging wall board as using its Stick’N’Go system with no pin backs needed. That is an attributed feature of the named product. It does not demonstrate that any piece of cork, craft foam or fabric will provide the same retention.
For a back-free format, keep each removed clutch in a labeled location tied to the pin. Check the maker's loading, removal and capacity guidance for the actual board. If the pin's size, weight or post arrangement is outside that guidance, resolve it before filling the display.
Make the layout from complete outlines
Give each pin a simple record code, then draw its front outline on a separate paper shape or use a measured print of your own photograph. Mark the post positions on the plan. This lets you try rows, clusters and captions without repeatedly pushing the real pin through the backing.
- Series rows: keep a documented set together, with room for differently shaped members.
- Travel or event groups: use a short caption and retain the date or place only where documented.
- One focus pin with a supporting group: place the largest outline first, then check that nearby pins remain independently reachable.
- A changing wearable section: give pins clear return positions and keep their backs connected to their record codes.
Leave the packaging choice visible in the plan. If a backing card carries artwork, a maker name or edition information you want to retain, include the whole card. You can keep the card separately rather than pierce or trim it to suit a new frame.
Look beyond a neat front-facing arrangement. A clasp may overlap the next post behind the board even when the fronts do not touch. A dangling charm can cross a neighboring design. Check those parts and the route used by your fingers to release each back.
Load a board with a clear release method
- Check the empty display. Follow the board maker's instructions for its intended pin type and retention method.
- Transfer the paper layout. Keep position codes and post locations identifiable without marking the pin itself.
- Check an initial suitable pin. Confirm that the board and intended back can be used as directed. Stop if the post must bend or the design must be pressed hard to engage it.
- Load one position at a time. Support the board as required and keep loose backs in their labeled places.
- Inspect both sides. Look for incomplete engagement, overlapping backs, unsupported heavy pieces and projecting posts.
- Check removal before completing the group. Release the attachment by its intended method rather than pulling the front against a locked back.
Do not use a valuable or fragile pin to determine how much force an unknown board can tolerate. Obtain the supplier's compatibility advice instead. A soft-looking material is not enough information about holding performance or long-term contact.
For a shadow box, reserve front and rear space separately
Measure the deepest pin face, raised detail or charm in front of the mounting surface. Behind it, include the posts and the complete clutches in their engaged positions. Check the frame's actual reference surfaces so the back panel does not bear on a clasp while the glazing presses on the design.
The shadow box depth guide explains usable depth. For pins, the extra question is whether the planned board leaves the required room on each side and can be removed as intended. A hinged front alone does not necessarily provide rear-clutch access.
Close the frame carefully after loading. Confirm that the glazing clears the front details and that the rear panel closes without pressure on the attachments. Keep labels where they can be read without obscuring maker information. Follow the exact frame's instructions for placing or hanging the completed display.
Download the blank pin-map and backing worksheet. It records post positions, backing cards, front projection, rear access and the storage location for removed clutches. Updating that map makes a changing collection easier to manage.
Common questions
Can enamel pins go straight into cork without their backs?
Use a display system intended for that retention method and check the actual pin. Cork thickness, construction and condition vary. A back-free product's claim does not establish the performance of an unrelated craft board.
Can I use an ordinary picture frame?
Check space for both the pin fronts and the engaged backs, plus a practical loading and removal route. A frame designed around a flat print may need a different mounting arrangement. Removing the glazing changes the display's format but does not resolve rear access by itself.
Should every pin stay on its original card?
Choose according to the packaging information you want to retain and the way the pin will be used. Include the complete package in the measured layout when it remains on display, or store the identified card separately. Keep the connection to the pin instead of discarding information solely to make a tighter grid.
Comments
Share a display tip or ask a question.