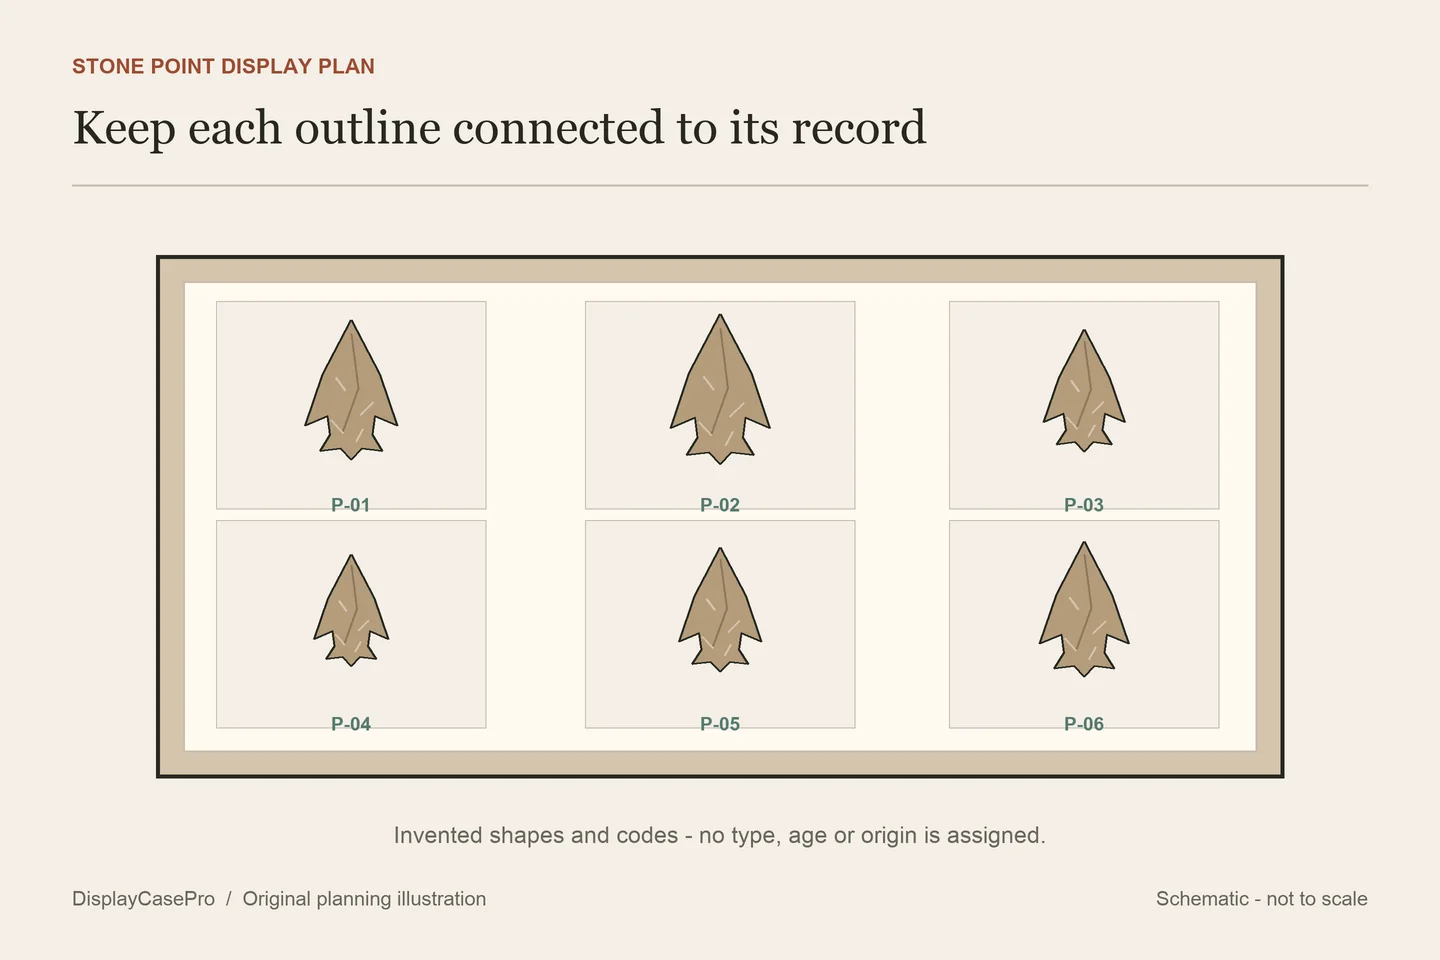
Good arrowhead display case ideas start with the individual objects: their outlines, existing records and the support each one needs. A horizontal tray, a focused single-object case and a labeled framed group offer different views and access. Choose the arrangement before treating glue, tight foam or the front glass as a mounting system.
Start with what you actually know about each point
Give each object a record code before moving a group into a display. Keep existing labels, photographs and acquisition records connected to that code. An old note may contain useful information even when you cannot verify its interpretation; record the note as a source rather than turning it into a new assertion.
Separate documented originals, known reproductions and pieces whose status is uncertain. Describe the visible object when a type or age is unconfirmed. A short label such as “stone point; identification unconfirmed” is more useful than an impressive but unsupported cultural attribution. A display arrangement does not authenticate its contents.
Photograph the chosen display face and keep a record of the reverse when practical. Note any existing crack, loose fragment or old repair that affects handling. Keep the measuring tool beside the object rather than pressing it against a thin edge or tip. Work from a photograph or separate paper outline for repeated layout trials.
The National Park Service's Curatorial Care of Archeological Objects emphasizes full support, careful handling and preserving associated records. Its museum-storage guidance also favors retrieving an object without disturbing its neighbors. Those principles inform the planning below; they are not a tested wall-mount design for your collection.
Three layouts that answer different viewing tasks
1. A horizontal tray-style display with individual positions
A shallow tabletop enclosure can show a small group from above. Give each point a separate supported position with its record code beside it. A removable tray or insert can keep the layout together when the transparent cover is lifted, provided the enclosure is intended for that use.
Use a measured paper plan to place the broadest object first, then the remaining outlines. Keep fragile edges from touching neighboring pieces or dividers. Check that you can reach the intended support or tray without picking up a point by its tip. The final contact surfaces and retaining arrangement still need to suit the objects.
2. One object with a separate caption and reference image
A single-point display gives an irregular outline room to be seen. Put the caption in its own area and consider a clearly identified photograph of the reverse if showing both faces matters. The photograph can provide context without requiring frequent turning of the original.
Keep the visible label concise: record code, a documented description and only the origin details you can support. Store the full notes elsewhere. An unrelated map, decorative emblem or old-looking background should not imply a history the object does not have.
3. A framed group organized by documented information
A wall frame can organize objects by a recorded acquisition group, a documented source or another defensible relationship. A simple row or loose grid leaves room for captions and irregular outlines. A visual size progression is another option if the label makes clear that size is the organizing choice, rather than a chronological sequence.
Start with the intended object supports, then place their complete outlines on paper. Arrange the labels next. A symmetrical composition is optional; having every object identifiable and independently supported is the more useful constraint. Keep an uncertain piece identifiable instead of placing it where the layout suggests a confirmed type.
Support and vertical retention are separate decisions
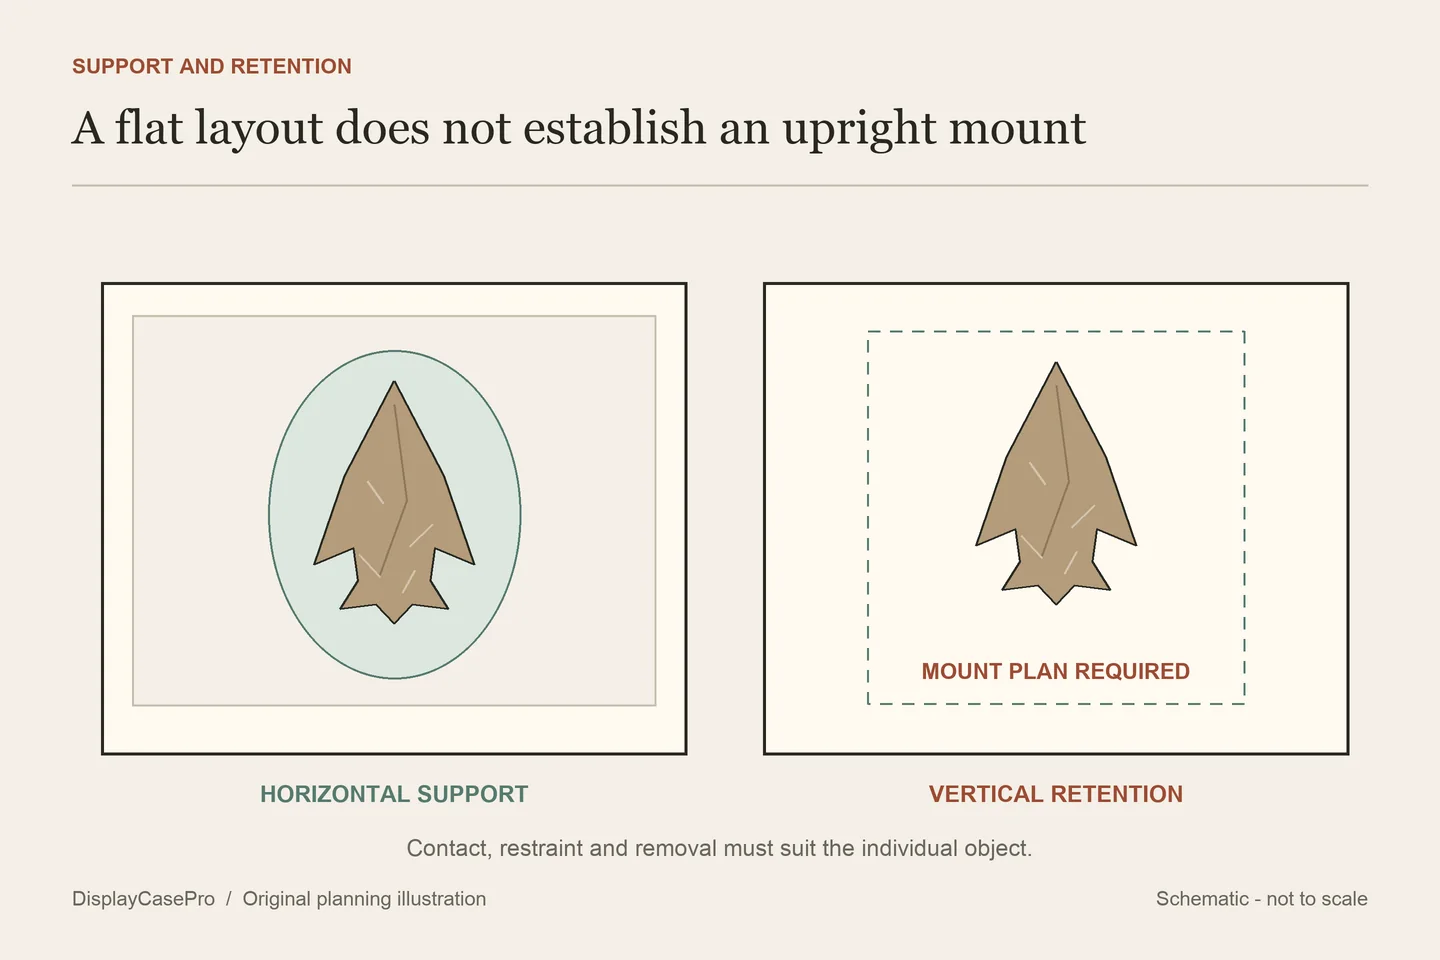
A stable object resting in a horizontal position has not demonstrated that it will remain secure when the case is turned upright. For a wall display, obtain a mount plan that identifies where each object's weight rests, what prevents movement and how it is released. Ask how the plan avoids pressure on thin points, notches and existing repairs.
| Object feature | Question for the support plan | What to record |
|---|---|---|
| Thin tip or narrow edge | Can the body be supported without making the tip carry the load? | Contact locations and an outline photograph |
| Notch or uneven base | Does a retaining part press into a vulnerable area? | Mount route and unresolved contact points |
| Different thicknesses in one group | Does each position support its own object independently? | Object-plus-support depth for each position |
| Old repair or loose area | Does the proposed handling or support need assessment first? | The concern and the advice obtained |
The NPS guidance warns against cushioning that exerts damaging pressure and notes that support fit must permit removal. A decorative foam layer is not automatically an appropriate mount. Avoid solving movement by squeezing the group harder between the backing and glazing. Have a suitable mount planned when the object's condition or the intended wall orientation leaves the support uncertain.
Read the clear space rather than the nominal case name
Custom Displays' arrowhead and artifact catalogue lists a nominal 6 × 9 × 2 inch case with an approximate 4 × 7 inch inside footprint. That named example shows why the outside dimensions cannot stand in for the area available to the layout. The inside figure is explicitly approximate, and it does not separately define every usable-depth surface.
Its two nominal depth families are marketed for different artifact thicknesses. Treat those descriptions as the supplier's product categories. They do not replace the actual depth of your object, mount and backing or establish how a fragile edge should be held.
For your chosen model, request the usable mounting area, the clear distance to the inner glazing and the opening route. Include any mount that projects behind or in front of the object. Our shadow box depth guide explains these reference surfaces.
Make a position map before loading the real objects
- Draw the usable area. Include frame lips, hinges, dividers and the space needed for opening.
- Place the supported outlines. Use paper shapes with the same record codes as the objects.
- Add captions. Check that the visible information agrees with the records and fits beside each position.
- Mark removal routes. Identify the object or tray you can release without shifting the others.
- Check the view. Read the map from the proposed viewing height before loading the enclosure.
- Retain the map. Record later moves so an empty position or a rearranged group remains understandable.
Download the blank point-display worksheet. It connects object status, support questions, position codes and captions. Use the collection measurement guide for the complete supported profile.
After loading, close the case without pushing the glazing or back panel against the contents. Recheck the labels and clearances from the normal viewing position. Follow the exact enclosure's installation instructions; a satisfactory internal arrangement does not establish the wall fixing or loaded weight limit.
Common questions
Can I attach arrowheads with hot glue?
A craft project's successful-looking photograph does not establish compatibility or harmless removal for your objects. Plan support and retention with the object's condition in mind. If you cannot resolve the contact and release method, leave that position unmounted and obtain appropriate advice.
Does thicker foam make a wall display better?
Thickness alone does not explain the pressure, contact material or the way an irregular object is held. Different points in the same case may need different supports. The front glass should not be used as the default clamping surface.
Must every point be identified before it can be displayed?
You can label uncertainty clearly and retain the existing records. Avoid inventing a date, place or cultural attribution to complete a visual theme. A later identification can update the caption without breaking the link to the original record code.
Comments
Share a display tip or ask a question.