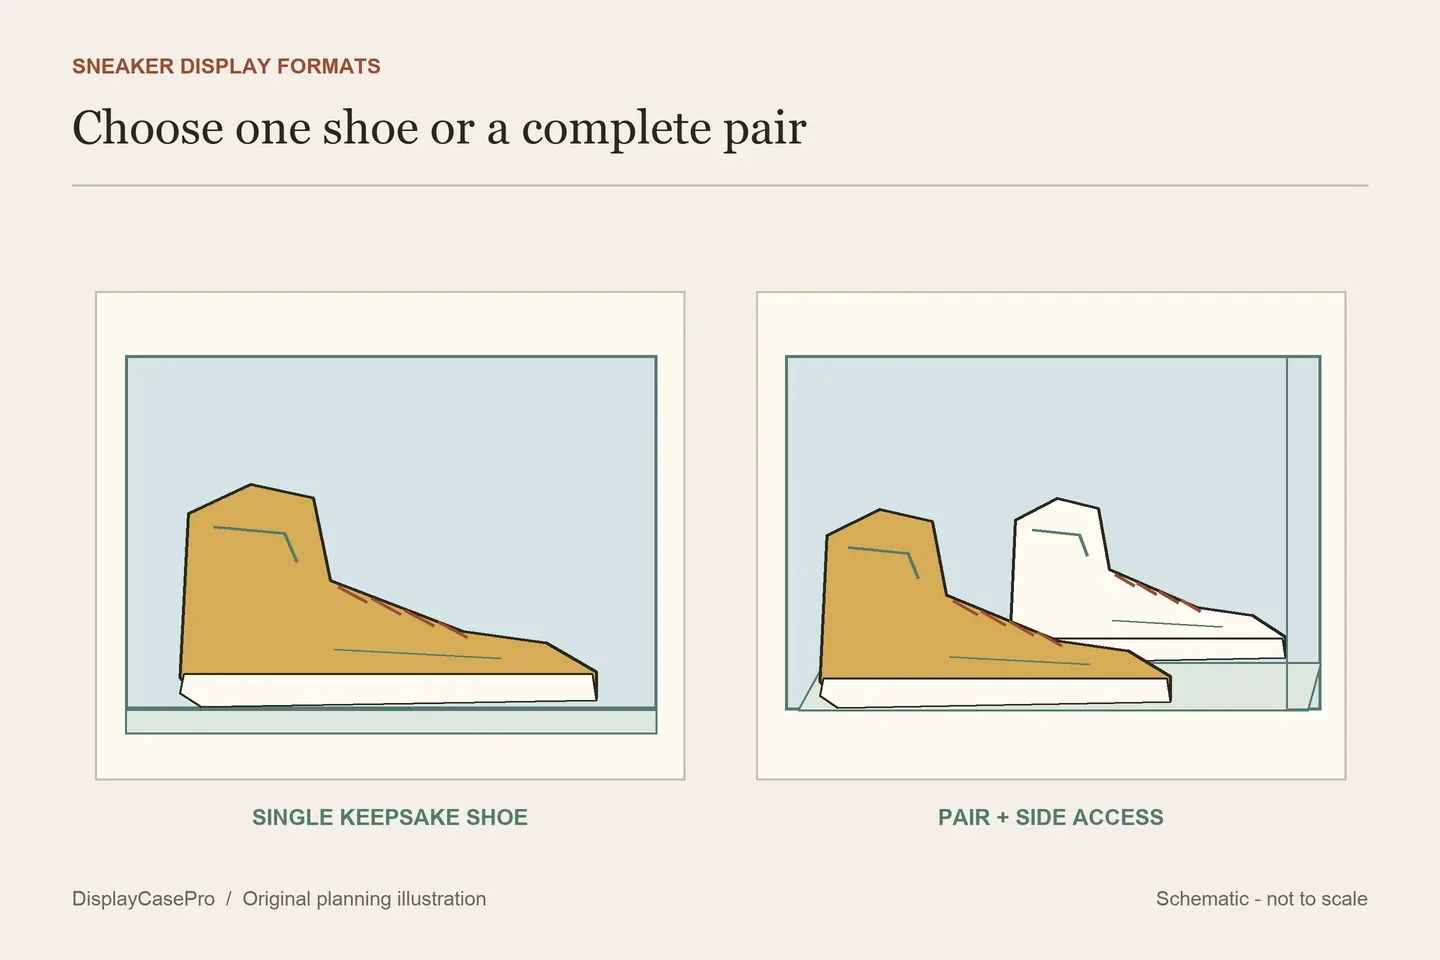
A single signed shoe, a matched pair and a pair you wear each week need different display cases. Decide which of those jobs matters first, then compare the complete shoe arrangement with the usable interior and opening. A shoe-size claim is a useful listing clue, not a measurement of your pair.
Choose the job before the box
One keepsake shoe with a clear viewing side
A single-shoe case can give a signature, event connection or distinctive side panel the attention it needs. Decide which side should face the room and where a separate caption will sit. Keep the companion shoe and original box recorded even if they are not part of this display.
A keepsake shoe does not need to be arranged like a pair ready to wear. Its support still needs to suit the sole and intended position. Do not use an autograph or delicate upper as a contact point simply to create a more dramatic angle.
A pair displayed as one collection item
Lay out both shoes in the intended pose before comparing case widths and depths. Side by side, slightly offset and facing different directions are different footprints. A mirrored back can change the view, but it does not create room for the second shoe.
Keep the pair identifiable together. If you split it across separate boxes for a particular presentation, include left/right or another clear record link. A matching display is easier to maintain when each shoe has a known position rather than being squeezed into whichever gap remains.
A regularly worn pair with straightforward access
A front- or side-opening storage box may make daily retrieval easier than lifting a complete cover. Check the door movement, the place where you will put the shoes down and the route for returning them upright. An attractive side profile is less useful if the door opens into a desk or another case.
Keep the shoe maker's care guidance separate from the display choice. An enclosing box does not clean footwear, restore an ageing material or establish the conditions needed by every leather, textile, foam or signed surface.
Compare inside space using the same height reference
These maker figures illustrate different case formats. All dimensions below are in inches, with axes explicitly reordered as length or width × depth × height. They are published specifications, not measurements of delivered cases or proof that a named sneaker fits.
| Exact example | Published usable interior | Important distinction |
|---|---|---|
| Better Display Cases A013/V11, clear single-shoe case | 14.75 L × 7.75 D × 8.15 H with risers; height 8.75 without risers. | This is the single-shoe format. With risers, height is measured from the platform to the case top. |
| Better Display Cases A082/V13, clear pair case | 15 L × 11.75 D × 8.15 H with risers; height 8.75 without risers. | The larger pair footprint does not provide more listed clear height than the single-shoe example in the corresponding configuration. |
| Sneaker Throne Drop Sides | 13.75 W × 10.5 D × 7.75 H. | The maker originally lists W × H × D. The side magnetic door and upright-pair format differ from the two platform cases. |
Keep the selected platform configuration with the dimensions. The two Better Display Cases listings give 8.15 inches of clear height with risers and 8.75 without; neither configuration has the full 9-inch outside height available above the shoe platform. Do not compare one case's exterior height with another's usable interior.
Drop Sides advertises fit for most size 14s and describes a pair of high tops in its FAQ. That is the maker's compatibility claim, not a universal size-to-case conversion. Measure the actual pair, including collars, soles and chosen arrangement.
Measure soles, collars and the pair's chosen pose
Keep the shoes in the position you intend to show. Record toe-to-heel extent, the widest sole or upper projection, and the highest point of each collar. Add a heel tab, tongue or lace arrangement where it projects beyond that outline. Do not fold a high collar simply to reproduce a product photograph.
Then measure the pair together. Two individually narrow shoes can occupy a much deeper arrangement when one sits forward of the other. A staggered pose may expose both outer side panels, while opposing directions can change where the toes and heels reach. Choose the view before the case dimension.
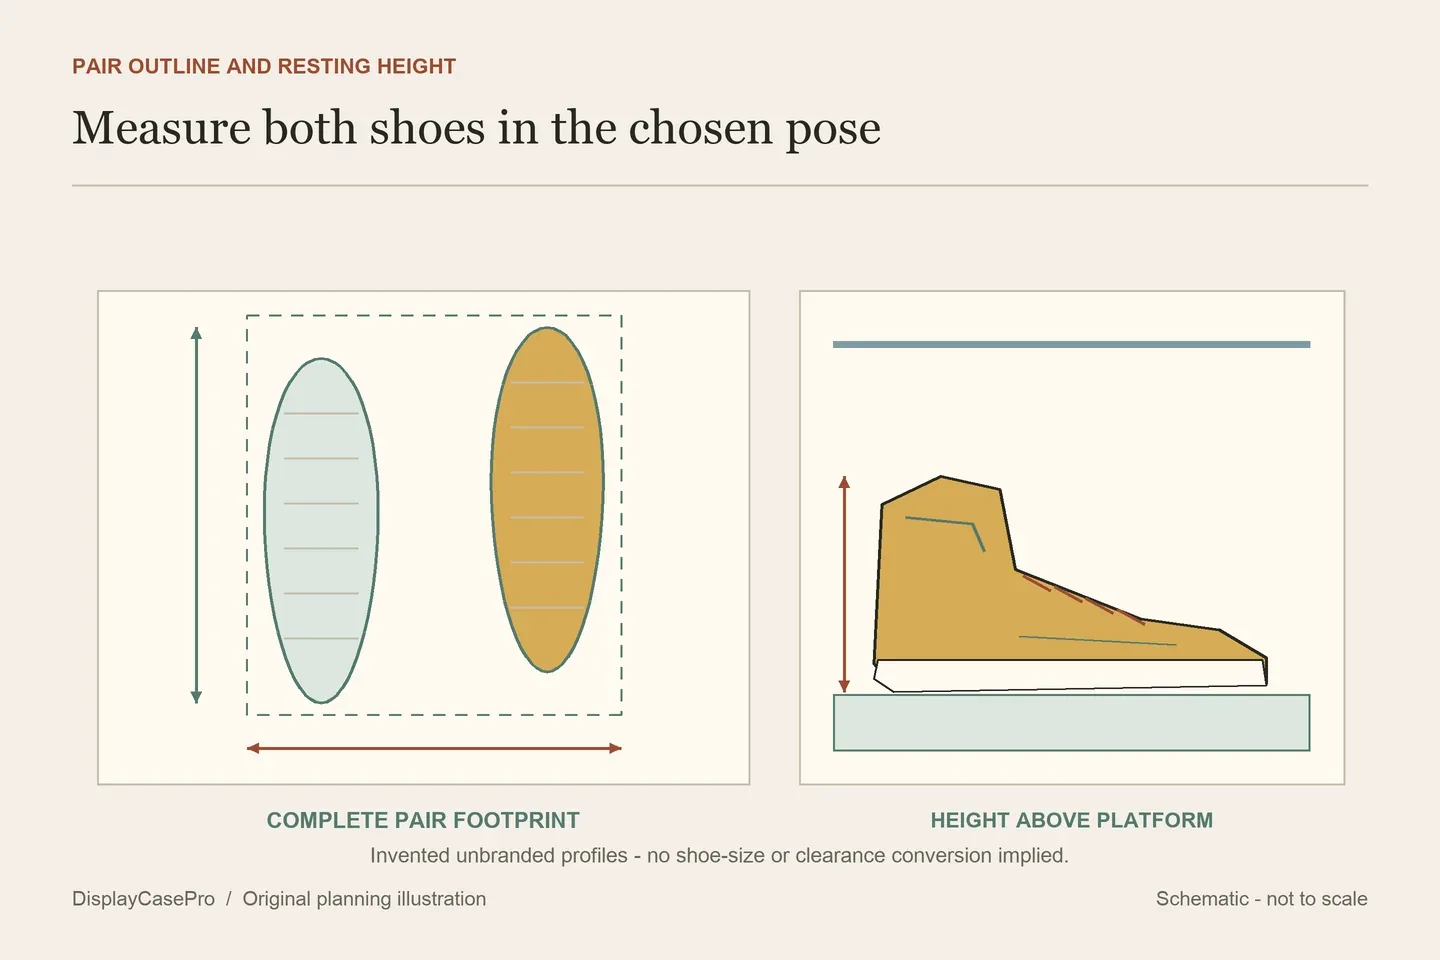
Record support contact and any riser separately from the shoe itself. Confirm the intended support arrangement for the chosen case rather than inferring its function from a color option. A “gold riser” label identifies a variant; it does not explain attachment, load capacity or how a shoe is retained.
The blank sneaker case worksheet keeps marked shoe size, measured pair footprint, collar height and platform configuration in different fields. Use the collection measurement guide for the wider distinction between usable interior, opening and outside footprint.
Check the real opening method
A transparent wall box and a side-opening modular box can look similar in a photograph while opening very differently. On a wall, consider the cover's withdrawal path as well as the shoe's route. A shelf directly above a lift-off lid can prevent access even when the closed case fits beneath it.
Sneaker Glass describes its Floating Wall Box with a removable lid and wall bracket, and lists 15 L × 10 W × 7.5 H inches. That dimension line is not explicitly labelled inside or outside. Request usable space and the lid operation for that exact version; its Lite stackable range is a separate product.
The Showcase Box S1 listing gives side containers as 14.25 × 11 × 8.5 inches and front containers as 14.25 × 11 × 8 inches. Those lines likewise do not identify usable interiors. Keep the chosen front/side version with the inquiry rather than treating the taller figure as guaranteed extra collar room.
For either opening style, check admission and return with the intended supports in place. Include nearby walls, shelves and neighboring doors. Resolve mounting and loaded support through the exact maker's instructions; included hardware is not proof of suitability for every wall.
Plan the collection from complete boxes outward
For a row or stack, make a layout from outside box dimensions after resolving the shoe fit. Reserve the door space and a clear place to work. A tight rectangular arrangement on paper can become awkward when each door needs a different sweep.
Use only the matching modular system as instructed. Do not assume that two brands interlock because their nominal widths look close, or turn a manufacturer's stack claim into a recommendation for every surface. If the collection grows, plan the next unit's access before filling the remaining gap.
Keep original boxes, spare laces and documented event details in a linked record. Separate caption space can tell the story without laying paperwork against a signed shoe. For lighting and reflections, use the cabinet lighting guide after the complete box and opening arrangement are established.
Common questions
Will a case marked size 14 fit every size-14 sneaker?
No universal fit follows from that label. Shoe shape, collar, sole and paired arrangement all affect the occupied space. Compare the actual profile with usable interior and opening dimensions.
Can a single-shoe case hold a pair?
Do not assume so. Its intended format and footprint differ from a pair case. Confirm the complete pair's arrangement and the supplier's accepted configuration before choosing it.
Does a platform improve every display?
It may change the view, but it also changes the support and available height. Use the configuration suited to the shoes and compare height from the correct resting surface.
About this guide: This is a source-led selection guide. It does not authenticate shoes, test enclosure fit, certify wall brackets or validate UV and long-term footwear preservation claims.
Comments
Share a display tip or ask a question.