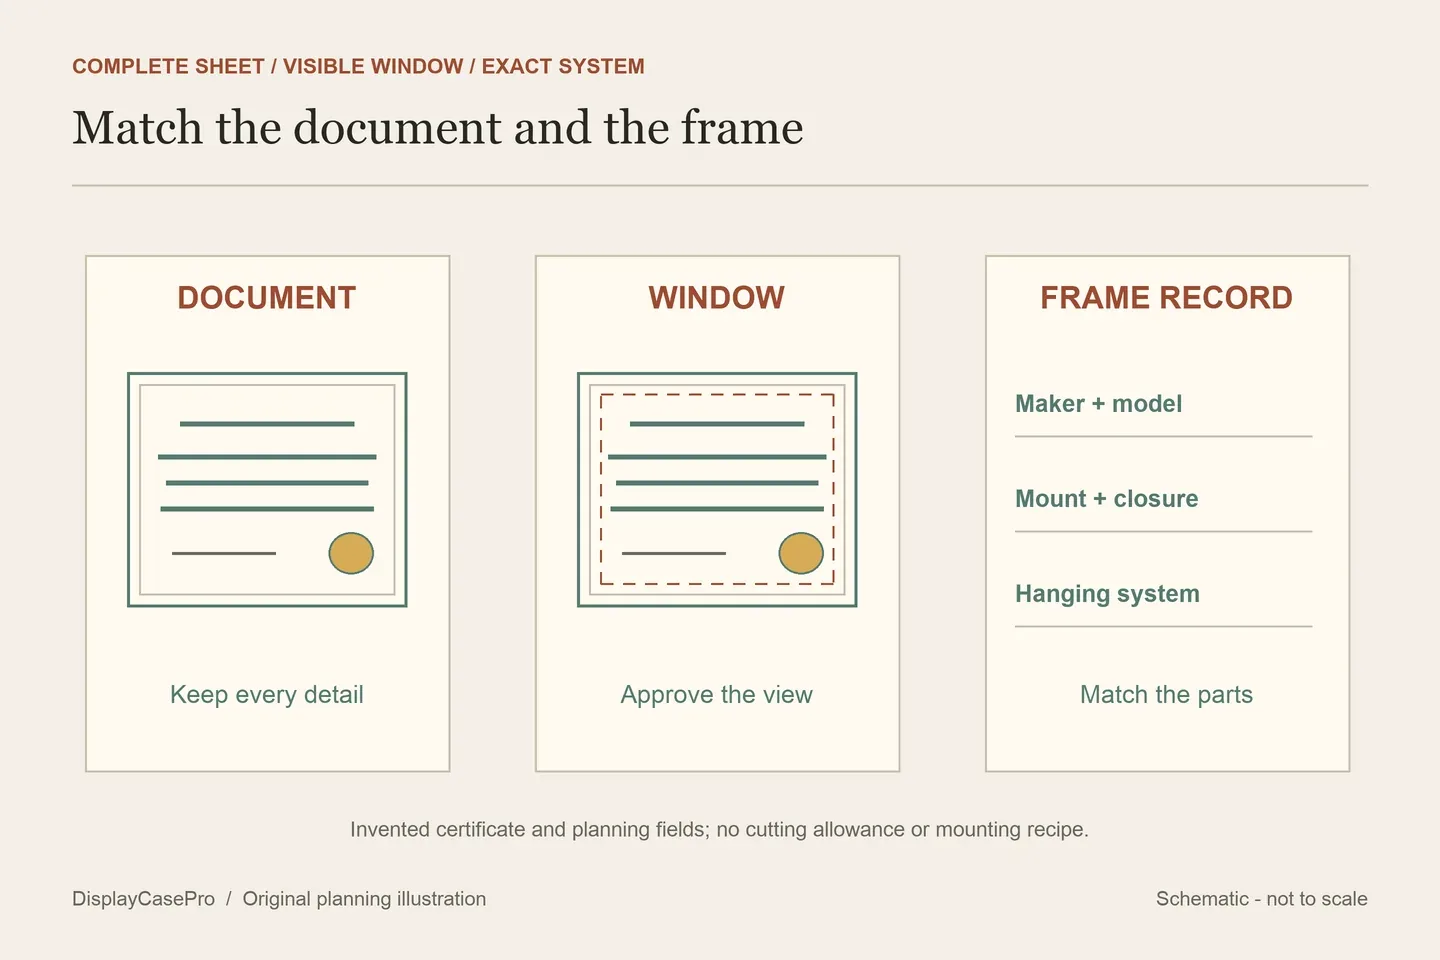
Frame a diploma by matching the actual document to a frame, visible window and mounting system. Measure the sheet, mark the details that must remain visible, identify the supplied parts, and use the instructions for that exact frame. A school name or a nominal frame size does not settle those checks.
Start with the diploma you actually received
Record the institution, qualification, year and document orientation. Distinguish an original diploma from a replacement issued later or a display copy. If a university sells a matching frame, check that its order is for your particular document version rather than assuming that every year or degree uses the same sheet.
Identify the name, degree wording, signatures, printed border and any embossed or applied seal. A ribbon or raised seal adds another clearance question. Check these features on a reference image before selecting an opening; a centered block of text can still have a signature close to an edge.
Condition comes before assembly. If a rolled document resists opening, or the sheet is brittle, damaged or already attached to an old mount, obtain appropriate paper-care advice. The National Archives’ paper guidance cautions against forcing fragile folds and attempting tape removal. A generic frame tutorial is not a treatment plan for that original.
Measure the sheet and approve the visible window separately
Measure the complete document in its intended orientation, keeping the original units. Do not trim an edge or flatten a seal to make a standard size work. Use a disposable outline or reference copy to compare proposed windows, especially where a mat overlaps a decorative border.
| Description | What it identifies | Check separately |
|---|---|---|
| Document or artwork size | The intact sheet the mount must receive. | Orientation, irregular edges and any projecting seal or ribbon. |
| Visible mat window | The area you can see after the mat is installed. | Names, signatures, border and seal remain visible as intended. |
| Mat or glazing size | A component fitted into the frame’s receiving section. | How the supplier defines the order field and supports the document. |
| Outside frame size | The finished footprint on a wall or surface. | The actual package depth, hanging system and room for access. |
Custom Mat’s school-named article uses an 11 × 8.5-inch document example and also tells readers to measure because diploma sizes can change. Its suggested opening belongs to that example. Frame It Easy separately describes coverage by its own frame. Neither statement is a universal amount to subtract from every diploma.
Send the complete sheet measurement and a marked reference image to the seller. Ask which field accepts the document size and which describes the finished opening. Approve the resulting view rather than copying dimensions from a frame photographed with somebody else’s degree.
Choose a complete frame, a custom mat or a framing service
The following sources were read on 19 October 2026. Some provide insertion instructions, while others help with the order or visual design. Choose the route that supplies the parts and help you need.
| Source | What the page provides | Resolve for your order |
|---|---|---|
| Church Hill Classics | Separate document-insertion and hanging-system instructions. | The document mount and hanging hardware actually supplied with your frame. |
| Custom Mat | A school-specific article combining a retail frame with a custom mat. | The actual diploma, component sizes and a suitable support method. |
| Framing Success | Document insertion, later access and matching hanging instructions. | The mat assembly, accessory parts and bracket on the exact frame. |
| Frame It Easy | School-color, classic and no-mat design choices. | The chosen window, frame coverage and applicable assembly directions. |
| FastFrame & The Westlake Gallery | Custom design for one degree, several degrees or associated keepsakes. | Which mounts, glazing and objects are included in the proposal. |
A second degree can have its own window and support, in one frame or a coordinated pair. Decide the reading order and document orientation first. Adding a tassel or cap changes the project from a flat document display into a mixed-object arrangement with additional mounting and depth requirements.
Use one coherent installation system
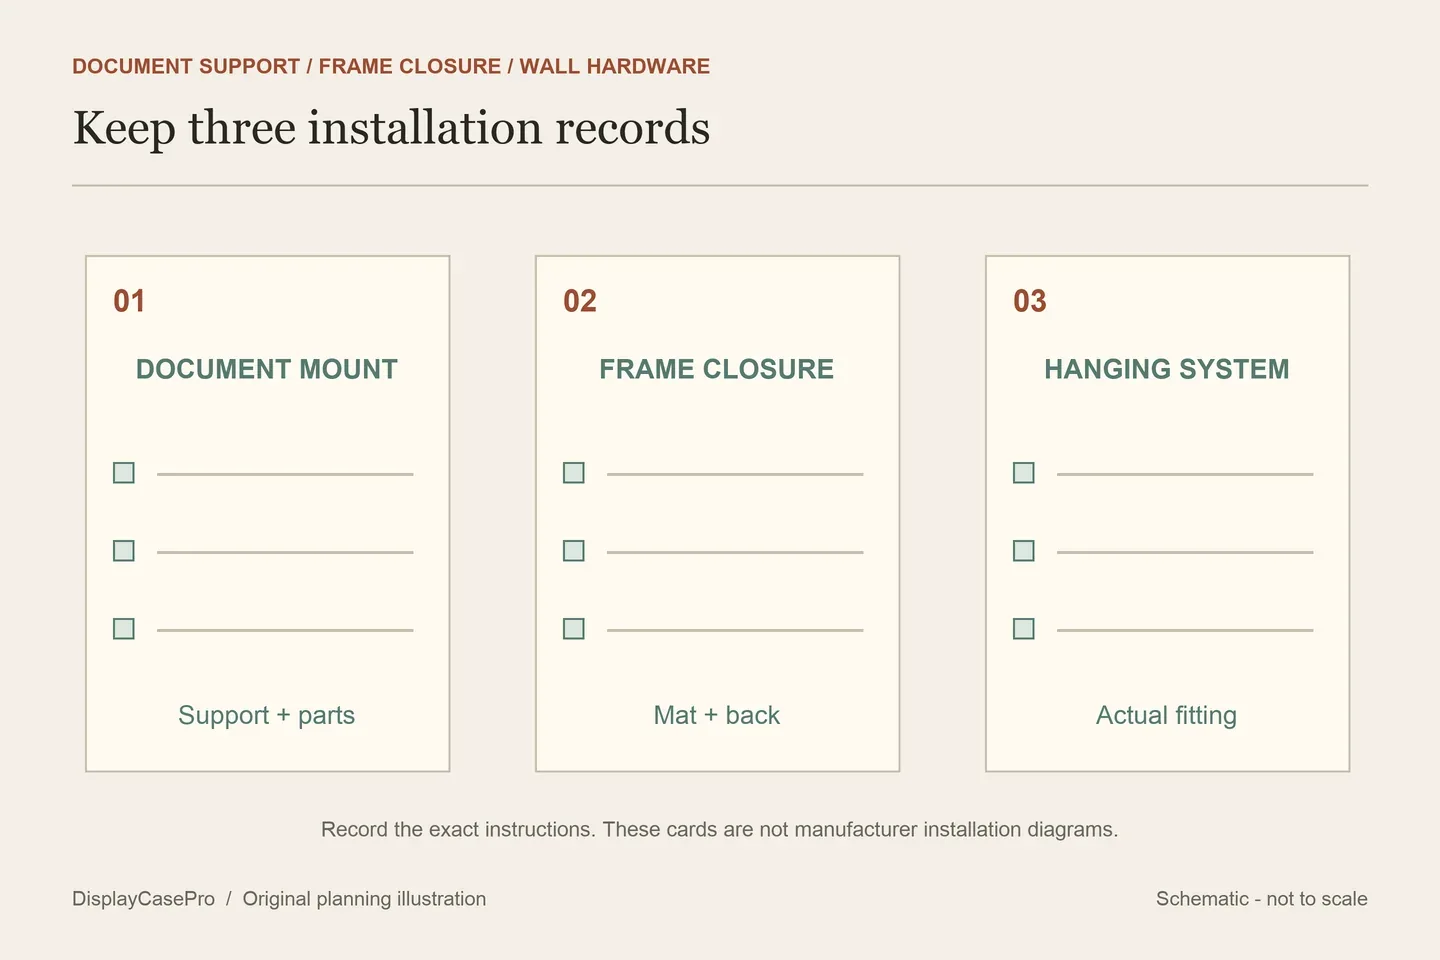
Inspect the back and identify the frame before opening it. Locate the maker’s instructions and check that the pictured closure, mat arrangement and supplied accessories match yours. Set aside an unrelated instruction sheet rather than combining its steps with the frame in front of you.
Two manufacturer documents show why this matters. The Church Hill Classics document sheet leaves the mat in the frame, centers the document from behind and uses the supplied tape at the top. The Framing Success booklet instead removes the hinged mat-and-backing assembly and describes four supplied corners on the bottom mat.
These are attributed instructions for those systems. They do not establish that any tape or corner sold elsewhere is appropriate for your original. Confirm the materials and attachment with the maker or framer before proceeding, particularly when the document is irreplaceable or has special surface features.
Also distinguish a document support from pressure exerted by the glazing. The Library of Congress framing guidance calls for separation between paper and glazing. Do not improvise a mount by squeezing an important diploma against the front panel because a general DIY article suggests doing so.
Check the view before closing, then follow the correct hanging directions
Prepare the work area and open the frame according to its own directions. Keep the document supported while checking its position. Verify the entire intended view, including the name, signatures and seal, before committing to the specified attachment. A reference image or proof can help catch a partly hidden border.
Check the completed package before closing it. The mat, backing and any raised details must be accommodated by the frame’s actual retaining system. If closing depends on compressing a seal or forcing the back into place, stop and resolve the package with the supplier.
Use the hanging instructions for the hardware actually fitted. Church Hill Classics lists several hanging systems; Framing Success’s booklet describes its own bracket and slide arrangement. The fact that both frames hold diplomas does not make those fittings or wall instructions interchangeable.
Finally, view the closed frame from the intended reading position and check reflections. Choose a location away from direct sunlight or intense light. Framing and a glazing label do not establish a permanent harmless display period; a clearly identified copy is another option when retaining the original separately matters most.
Keep the document and frame information together
Use the diploma frame record to save the sheet dimensions, visible details, exact frame, mount parts, instruction revision and hanging system. Record whether the display contains the original, a reissue or a copy.
For the broader wall footprint and access route, use the display measurement guide. No manufacturer frame, adhesive, wall fixing or preservation performance was physically tested for this article.
Comments
Share a display tip or ask a question.