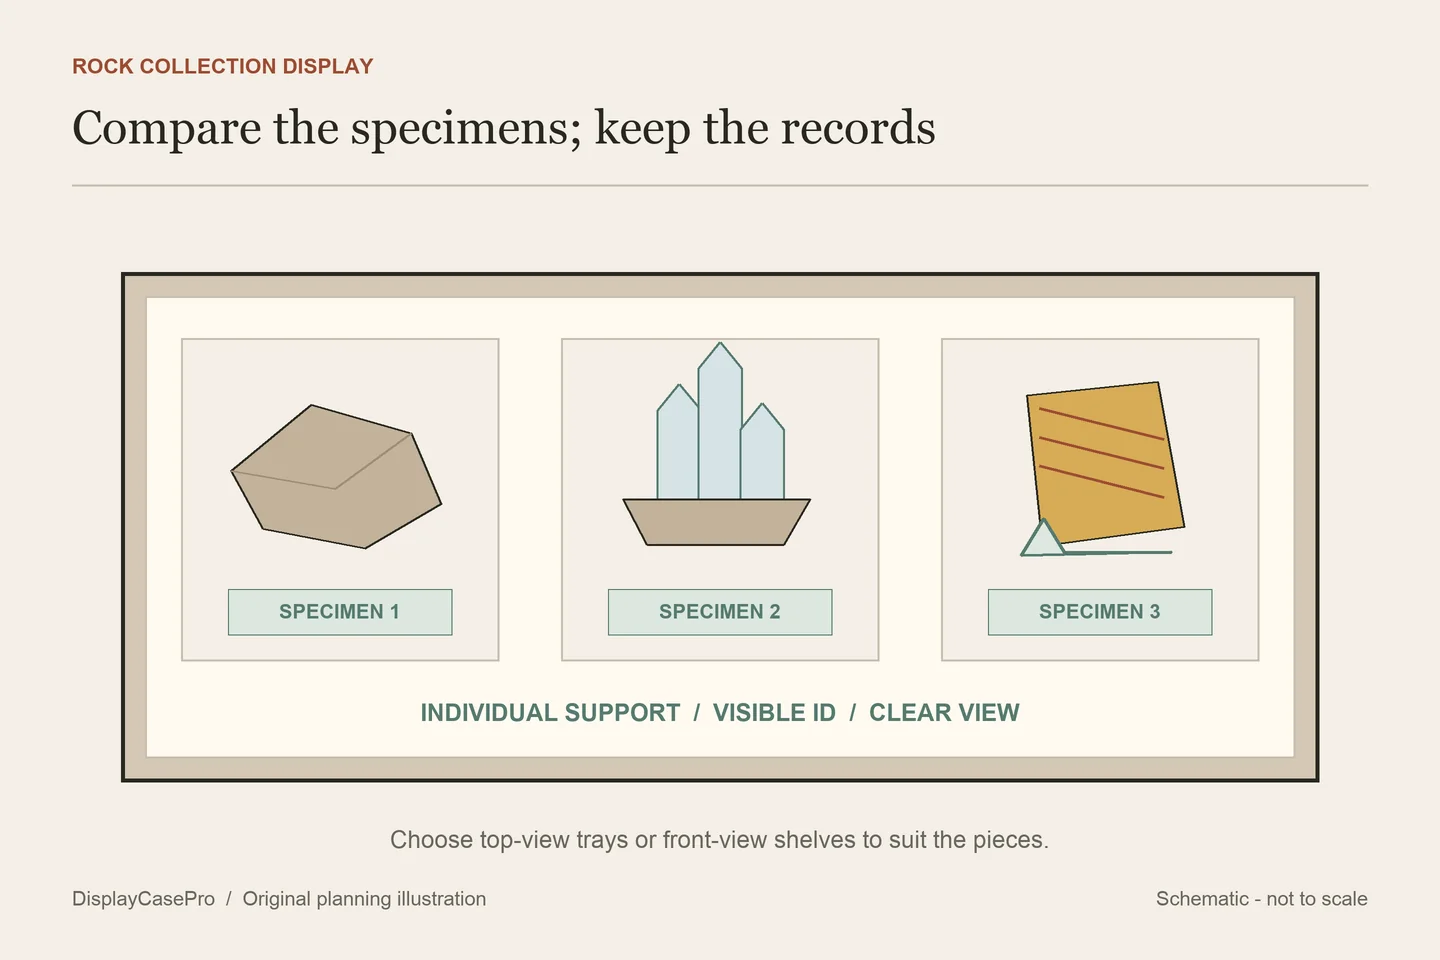
Choose a rock display case by the way you want to examine the collection. A divided tray suits a group viewed from above; a cabinet suits upright specimens seen from the front; a separate cover can give one fragile piece its own space. Keep the specimen, its support and its identifying information together in every arrangement.
Choose the display format from the specimens, not just the room
A rock collection can include rounded pebbles, cut slabs, rough hand specimens and crystal groups on a matrix. Their display needs differ. Before comparing furniture, separate the pieces by how they rest, which surface you want visible and how easily they could touch one another.
| What you want to show | A useful format to consider | The deciding check |
|---|---|---|
| Small pieces compared from above | Individual trays in a shallow, covered drawer or tabletop case | Each specimen and its label remain visible without lifting its neighbors. |
| Upright specimens with a strong front view | Glass-front cabinet with suitable individual supports | The supported view is stable and visible at the actual shelf height. |
| A cut face or thin slab | A stand designed for that shape within an enclosure | The supported edge and the full stand footprint suit the specimen. |
| A projecting crystal group | An individual cover around an appropriate mount | Neither the mount nor the cover presses on the projections. |
| A changeable study collection | Labeled trays with a separate viewing area | One supported specimen can move between storage and viewing without losing its identity. |
These are layout routes, not material compatibility guarantees. An enclosure does not identify the minerals or establish their environmental requirements. Keep pieces with uncertain care needs out of a permanent room display until you have reliable information about them.
Four rock display case ideas with a clear purpose
1. A comparison tray with one question
Choose a small group that lets you compare a visible feature: grain size in identified rock samples, different cut faces, or several examples of one documented mineral. Give each piece an individual position and write the comparison question on a heading card. A tray labeled “Which surfaces show the larger grains?” asks the viewer to look closely rather than simply admire a pile of stones.
Keep the tops of the specimens visible and avoid making compartments so tight that fingers or tools must press against adjacent pieces. If some objects are much taller than the others, separate them into another tray or change the viewing format. Equal-looking squares should not dictate unsuitable supports.
2. A locality shelf linked to the original records
Arrange specimens with documented origins from one collecting area or trip. Use the locality at the level the evidence supports: a country, district or named site. Do not turn a broad dealer label into a precise mine attribution because it makes the display sound more interesting.
A short heading can explain the connection, while small numbered captions identify each piece. Place original labels in a recorded storage location and retain photographs of them. Keep bought, traded and personally collected specimens distinguishable in the catalogue, even when they share a shelf.
3. A single-specimen view with a separate information card
Give one piece enough room for its outline and selected surface to be understood. Find a stable supported orientation first, then choose the enclosure around it. A slightly angled view may reveal a feature that is hidden when the object stands upright; the angle still needs a suitable mount.
Place the card beside the support, where reading it does not require reaching over the specimen. A plain background can help a pale matrix or dark crystal stand out. Test it under the intended room lighting instead of assuming black is always the most revealing choice.
4. A display shelf paired with labeled reserve trays
Show a selected group and keep the rest in documented storage. This suits a collection that is too varied for every specimen to share the same case. The reserve trays are part of the system: record where each piece goes when it leaves the visible shelf.
Change the selection for a reason, such as a new comparison or a revised identification. Frequent rearrangement brings handling without necessarily improving the display. A light-sensitive specimen may need dark storage rather than a place in the rotation.
Treat the label as part of the specimen's display
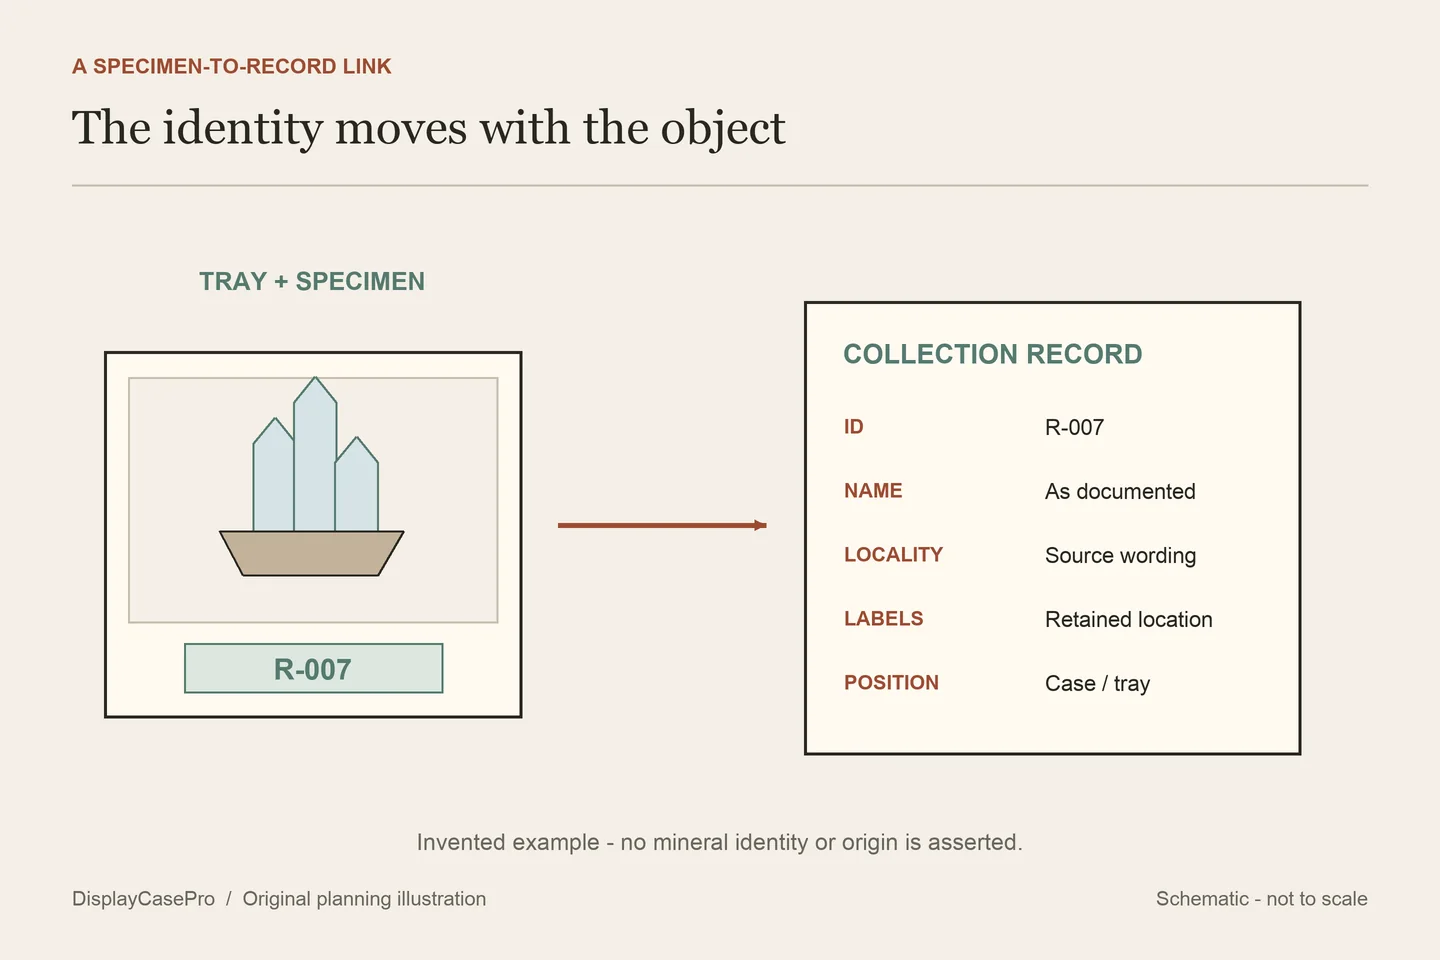
The USGS introduction to collecting rocks emphasizes recording where a specimen was found and keeping a labeling system so pieces do not become mixed up. Its collection-record examples include the specimen number, name, collector and collecting location. That principle is useful even for a small home collection.
For a purchased specimen, retain the seller's label and distinguish its information from a later identification. If the label says “quartz?” keep the uncertainty visible until there is a sound reason to change it. A color resemblance or attractive photograph is not enough to establish a mineral name.
- Visible caption: collection number, supported identification and a concise locality when known.
- Full record: original wording, acquisition source and date, photographs, dimensions, condition and any known repairs or treatments.
- Location record: case, shelf or tray position, plus the storage location of associated labels and paperwork.
Do not discard an old handwritten label after printing a neater one. The National Park Service's geological collections guidance explains that old labels can carry important historical information. Store them as associated records; do not put loose paperwork where it presses against delicate crystals.
Download the blank specimen and display-position worksheet. The fields separate a supplied identification from a confirmed one and keep visible position, original labels and care questions together.
Plan the support and the retrieval route together
Decide where the specimen can bear its weight. A projecting crystal is a feature to show, not an obvious place to grip or prop the object. A stand that suits a flat cut slab may be unsuitable for a fractured matrix. For a valuable or fragile specimen, obtain advice on a fitted mount rather than improvising pressure points.
Measure the supported object in the orientation you will display. Include the stand's rear leg, the tray, any riser and the highest projection. The collection measurement guide explains how to record a complete display envelope. Also weigh the planned group and check the exact shelf's documented capacity and installation conditions.
Before filling a case, rehearse the access route using empty supports or paper footprints. Can you remove the front tray without reaching between taller specimens? Can the cover lift clear without moving sideways across a crystal tip? Does a shelf adjustment require unloading the entire group? Solve those questions before placing the collection.
Individual trays can prevent neighboring pieces from rubbing or knocking together, but the tray must also be restrained from sliding when a drawer opens. Use materials and supports appropriate to the identified specimens. A decorative fabric, household foam or mounting putty is not automatically suitable because its packaging says “soft” or “museum.”
Check care requirements before selecting a sunny shelf
The National Park Service reference distinguishes minerals that can be damaged by light or unsuitable humidity and recommends dark storage for light-sensitive specimens. It is a museum storage reference published in 1998, not a universal specification for every modern home display. Its useful lesson here is that a mixed collection may not share one care requirement.
For each specimen, resolve these questions before committing it to a room display:
- Is the identification sufficient to establish suitable light and humidity conditions?
- Are fragile areas, repairs or treatments known?
- Are the mount, lining and enclosure materials compatible with it?
- Is the proposed location exposed to sunlight, damp conditions or frequent disturbance?
- Can you monitor the object and remove it without disrupting the rest of the collection?
A transparent cover helps limit casual contact and dust deposition; it does not by itself control humidity or eliminate light exposure. Do not add water, plants or candles to a mineral enclosure for atmosphere. Keep those decorative elements separate from the specimen display. Identification, cleaning treatments, fluorescent UV setups and specialist hazardous-specimen storage require their own expertise and are outside this layout guide.
Common questions
Can I display rocks in a glass jar?
A jar can suit identified, durable decorative stones when contact between them is acceptable. It hides some surfaces and makes individual retrieval harder. Use separate supported positions for pieces whose condition, identity or delicate features matter.
Should I arrange by color or by mineral type?
Choose the question the display should answer. Color can create an attractive visual group, while documented identity or locality supports study. Either arrangement still needs reliable records; matching colors do not establish that specimens are the same mineral.
Is a deep cabinet better than a shallow one?
Only when the supported specimens and their access routes need that depth. A deep row may hide small pieces behind large ones. For specimens examined from above, a shallow tray can reveal more than a tall cabinet.
Comments
Share a display tip or ask a question.